Key Takeaways
- Navigate your Apple Watch efficiently using touch, Digital Crown, gestures, and the companion app.
- Customize Apple Pay on your Watch for more than just payments, including transit cards and loyalty cards.
- Utilize Mirror my iPhone setting to ensure Apple Watch and iPhone are always in the same status and mode.
If you have decided to bite the bullet and get a new Apple Watch, you’ll be rushing to set it up right away. Once that’s done, there are a few things you should do immediately with an Apple Watch. After that, you can eventually start to familiarize yourself with features you may not have realized Apple Watch even has. Some of these could be old tried and true ones, others might be new features with watchOS 11 that have only just launched. Whatever the case, we’re here to help. As you power through setting up and getting familiar with your new Apple Watch, there are some tips and tricks worth knowing.
Related
How I navigate my Apple Watch like a pro
There are four main ways to navigate an Apple Watch: The touchscreen, Digital Crown and button, gestures, and companion app.
1 Set up more in Apple Pay
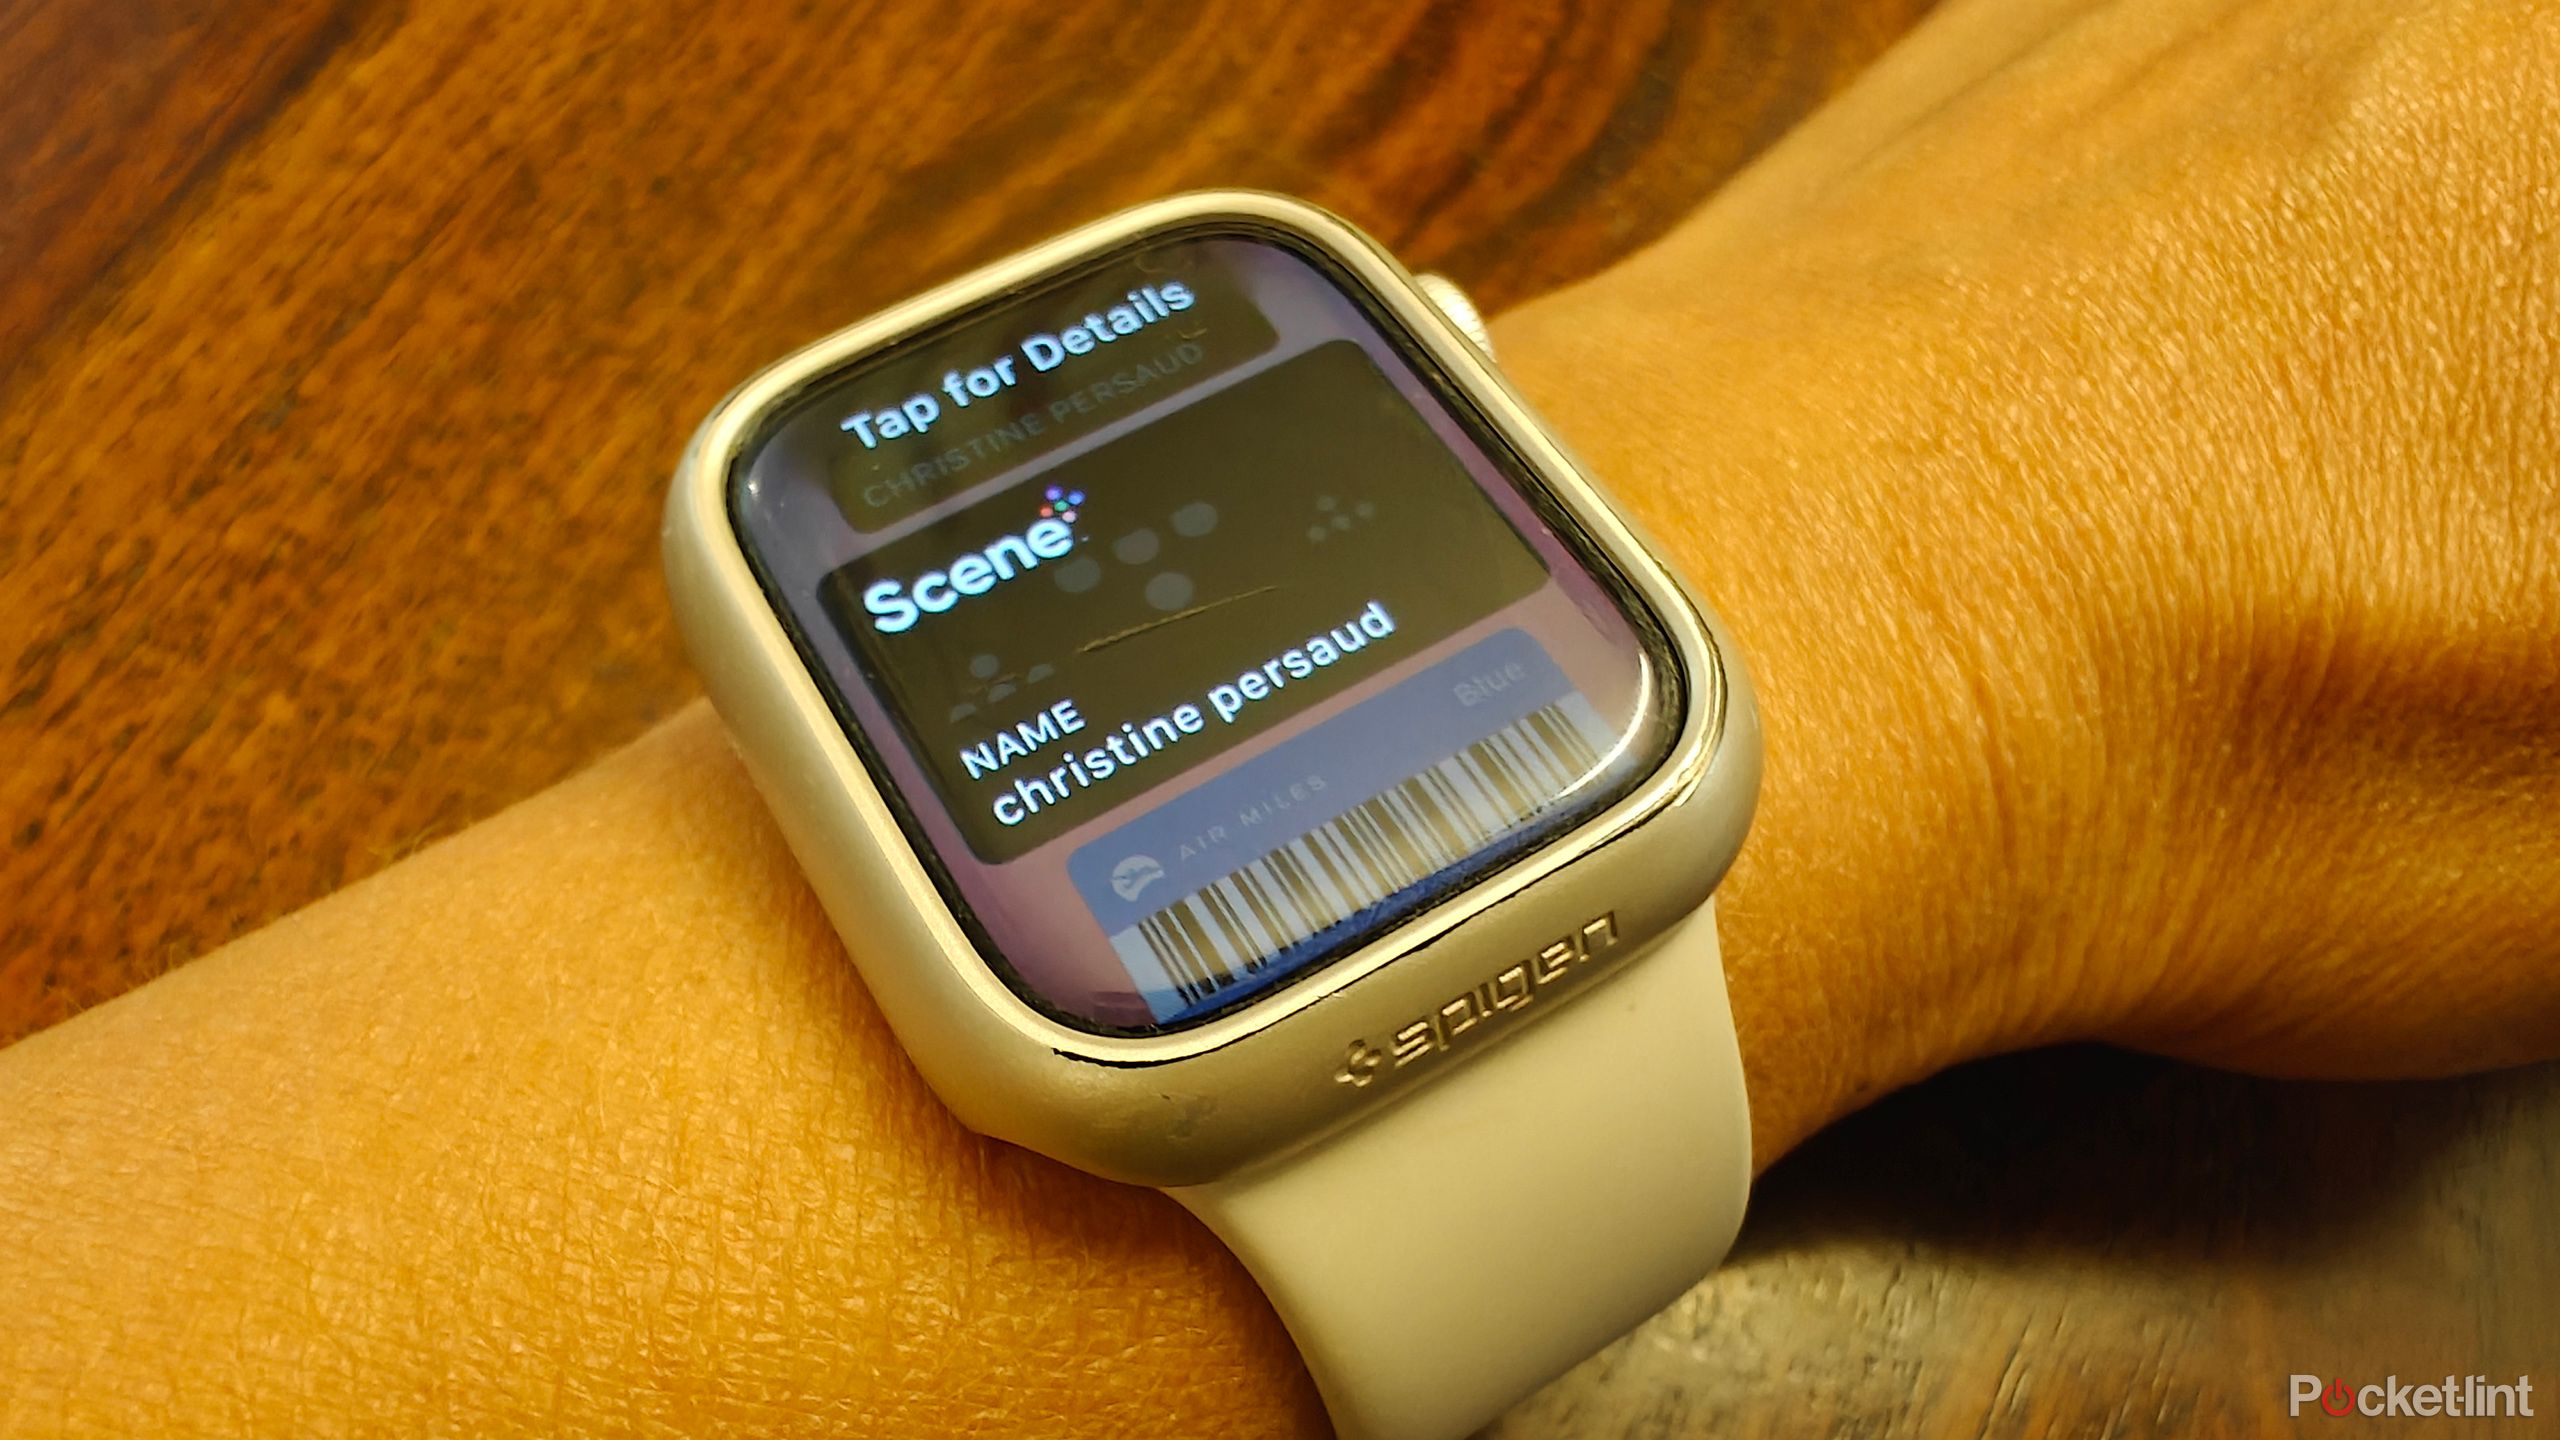
It’s not just for payments
Most people know that you can set up Apple Pay on your Apple Watch to pay for items from your wrist. You can also set up access to certain IDs, loyalty cards, membership cards, event tickets, even boarding passing. But if you dive deeper into the Apple Wallet option for Apple Watch, you can even set up an express transit card. Choose which payment card you want to pay for rides on compatible transit systems and it will automatically trigger the payment when you hold the Watch up to it. Yes, you don’t even need to open Apple Wallet by double-clicking the side button or selecting the Apple Wallet app: it just works once you hold the Watch near a supported transit reader. This is especially useful if you have a supported prepaid card from your local transit system that you want to use instead of a default credit card. Set up all types of payment and other cards in Apple Wallet from your iPhone or from the Watch itself.
When it comes to transit, to select your preferred payment card:
- Open the Watch app on your iPhone.
- Select My Watch.
- Scroll down to Wallet & Apple Pay.
- Select Express Transit Card and choose the loaded payment card you want to use.
2 Put it in silent mode
Quiet notifications
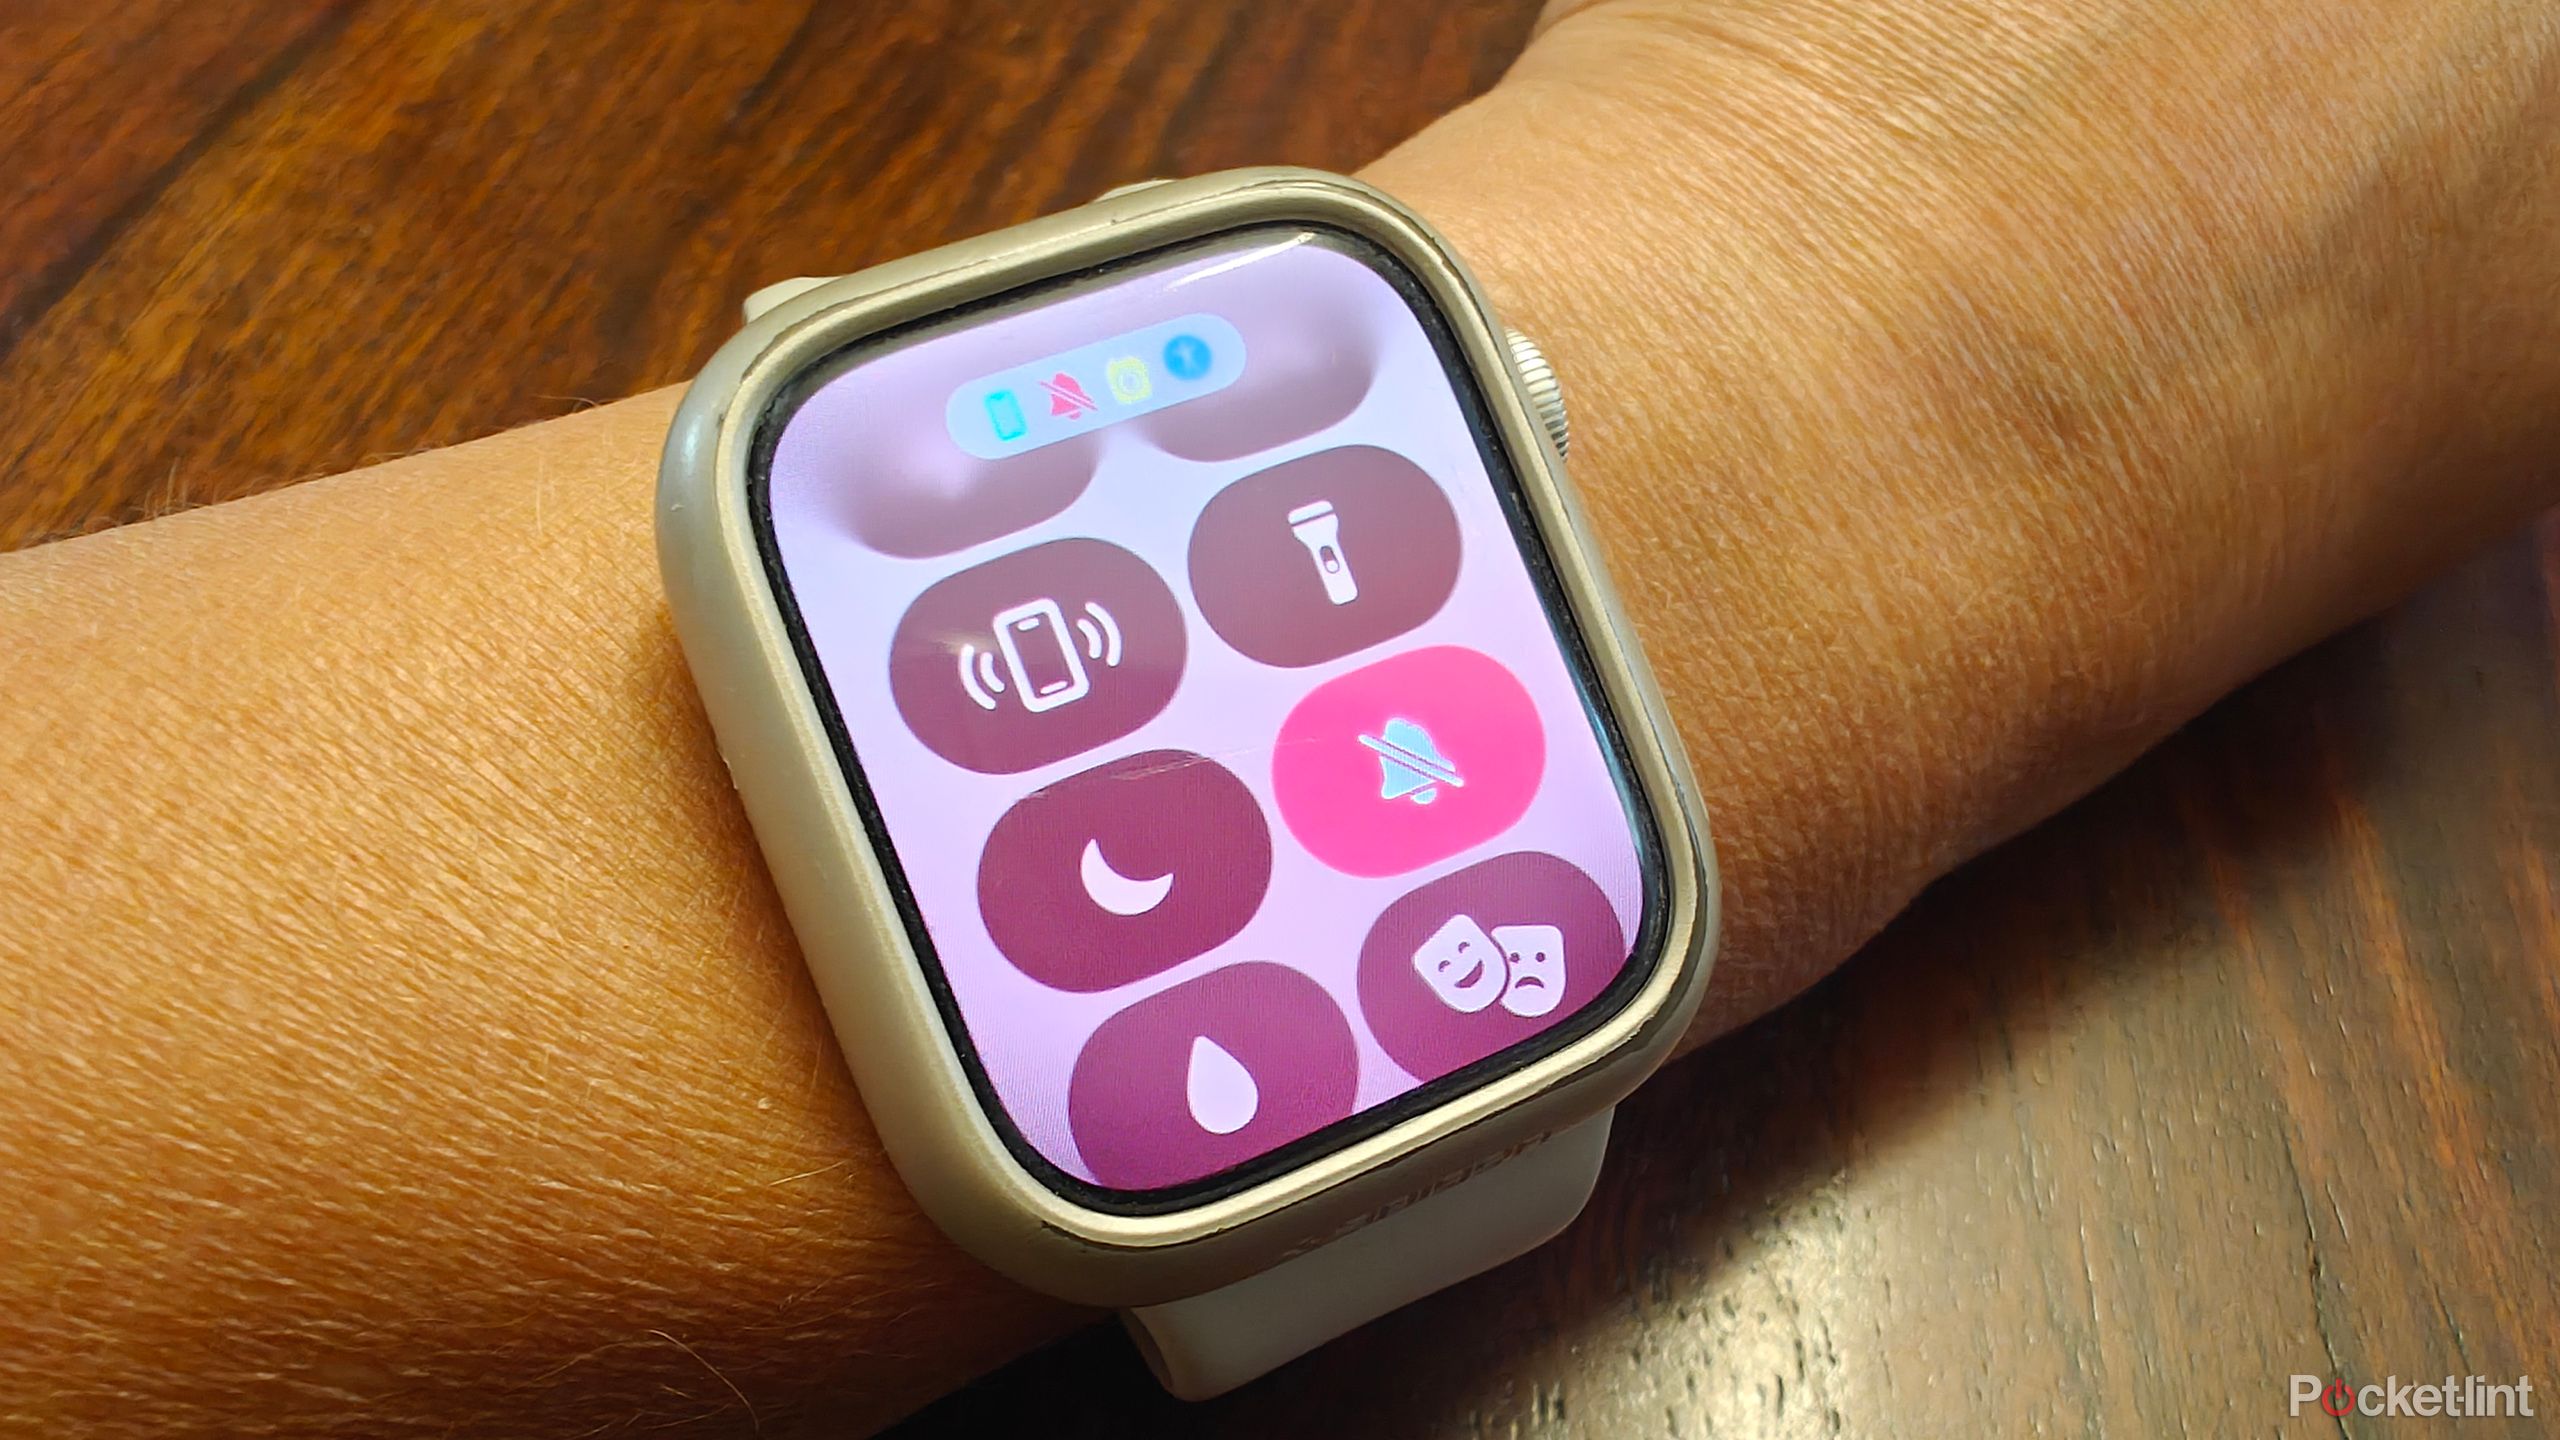
Ever since I got my Apple Watch, I almost always have it in quiet mode. I am still able to receive notifications and alerts that these notifications have arrived. But it comes via a slight vibration on my wrist versus an audible noise. While you might prefer the audible alert, if you have a lot of apps and notifications set up, this could become distracting. The vibration is just as noticeable when the Watch is in silent mode, and this can also prevent an embarrassing snafu when your Watch starts ringing in the middle of a meeting.
- Tap the side button on the Apple Watch.
- Select the bell-shaped icon. A line will go through it and it will turn red to indicate that you’re in silent mode. A notification at the top of the Watch screen will also note “Silent Mode: On.”
- Tap it again to turn it off.
Related
Apple Watch SE 3: What we know about the next-gen budget watch
Apple could make its next budget offering even more affordable.
3 Choose Mirror my iPhone
Have them work in total unison
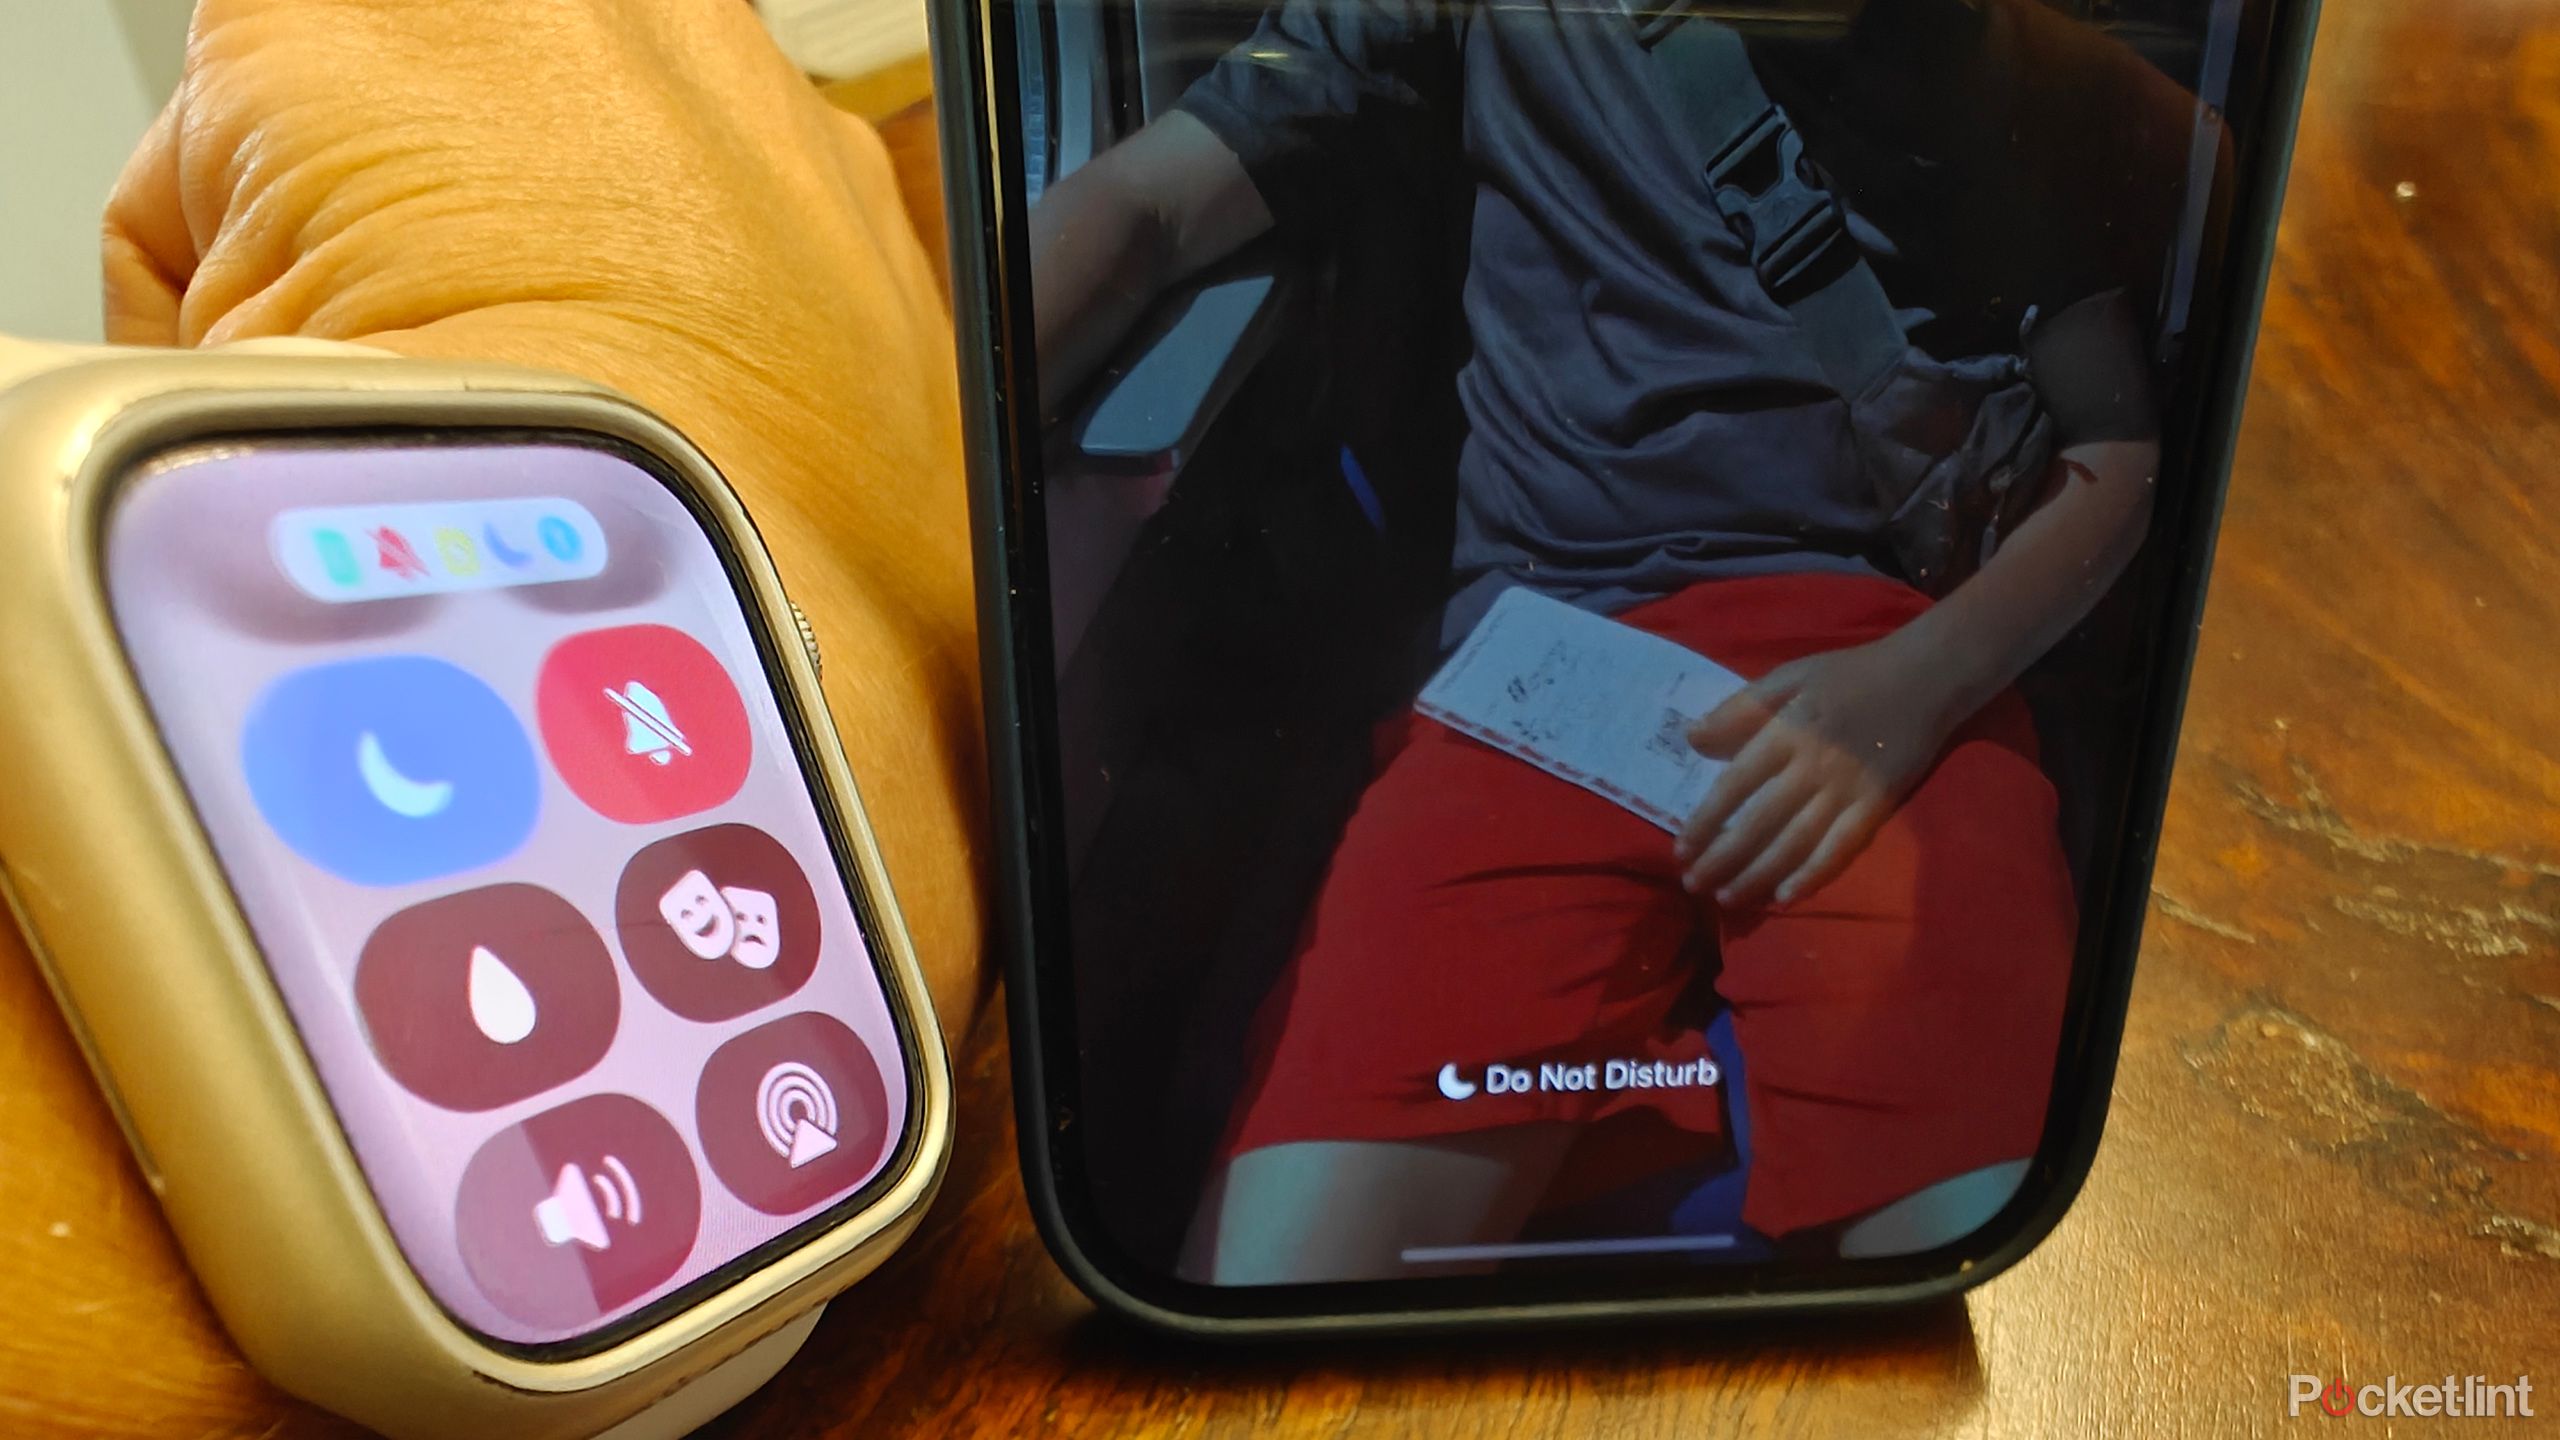
If you put your iPhone into Focus or Airplane mode, chances are you want your Apple Watch to do the same, and vice versa. To ensure they always work in tandem with one another, make sure to set it up so the Watch mirrors whatever you have asked of your phone when it comes to status and modes. Once you set this up, it will ensure that when the iPhone and the Apple Watch are within range of one another, the iPhone will enter the same mode you choose on the Watch when you select it.
- Open the Watch app on your iPhone.
- Select General.
- Under Airplane Mode and Focus mode, turn on Mirror iPhone.
4 Set a sleep and wake time
Make sure sleep tracking works
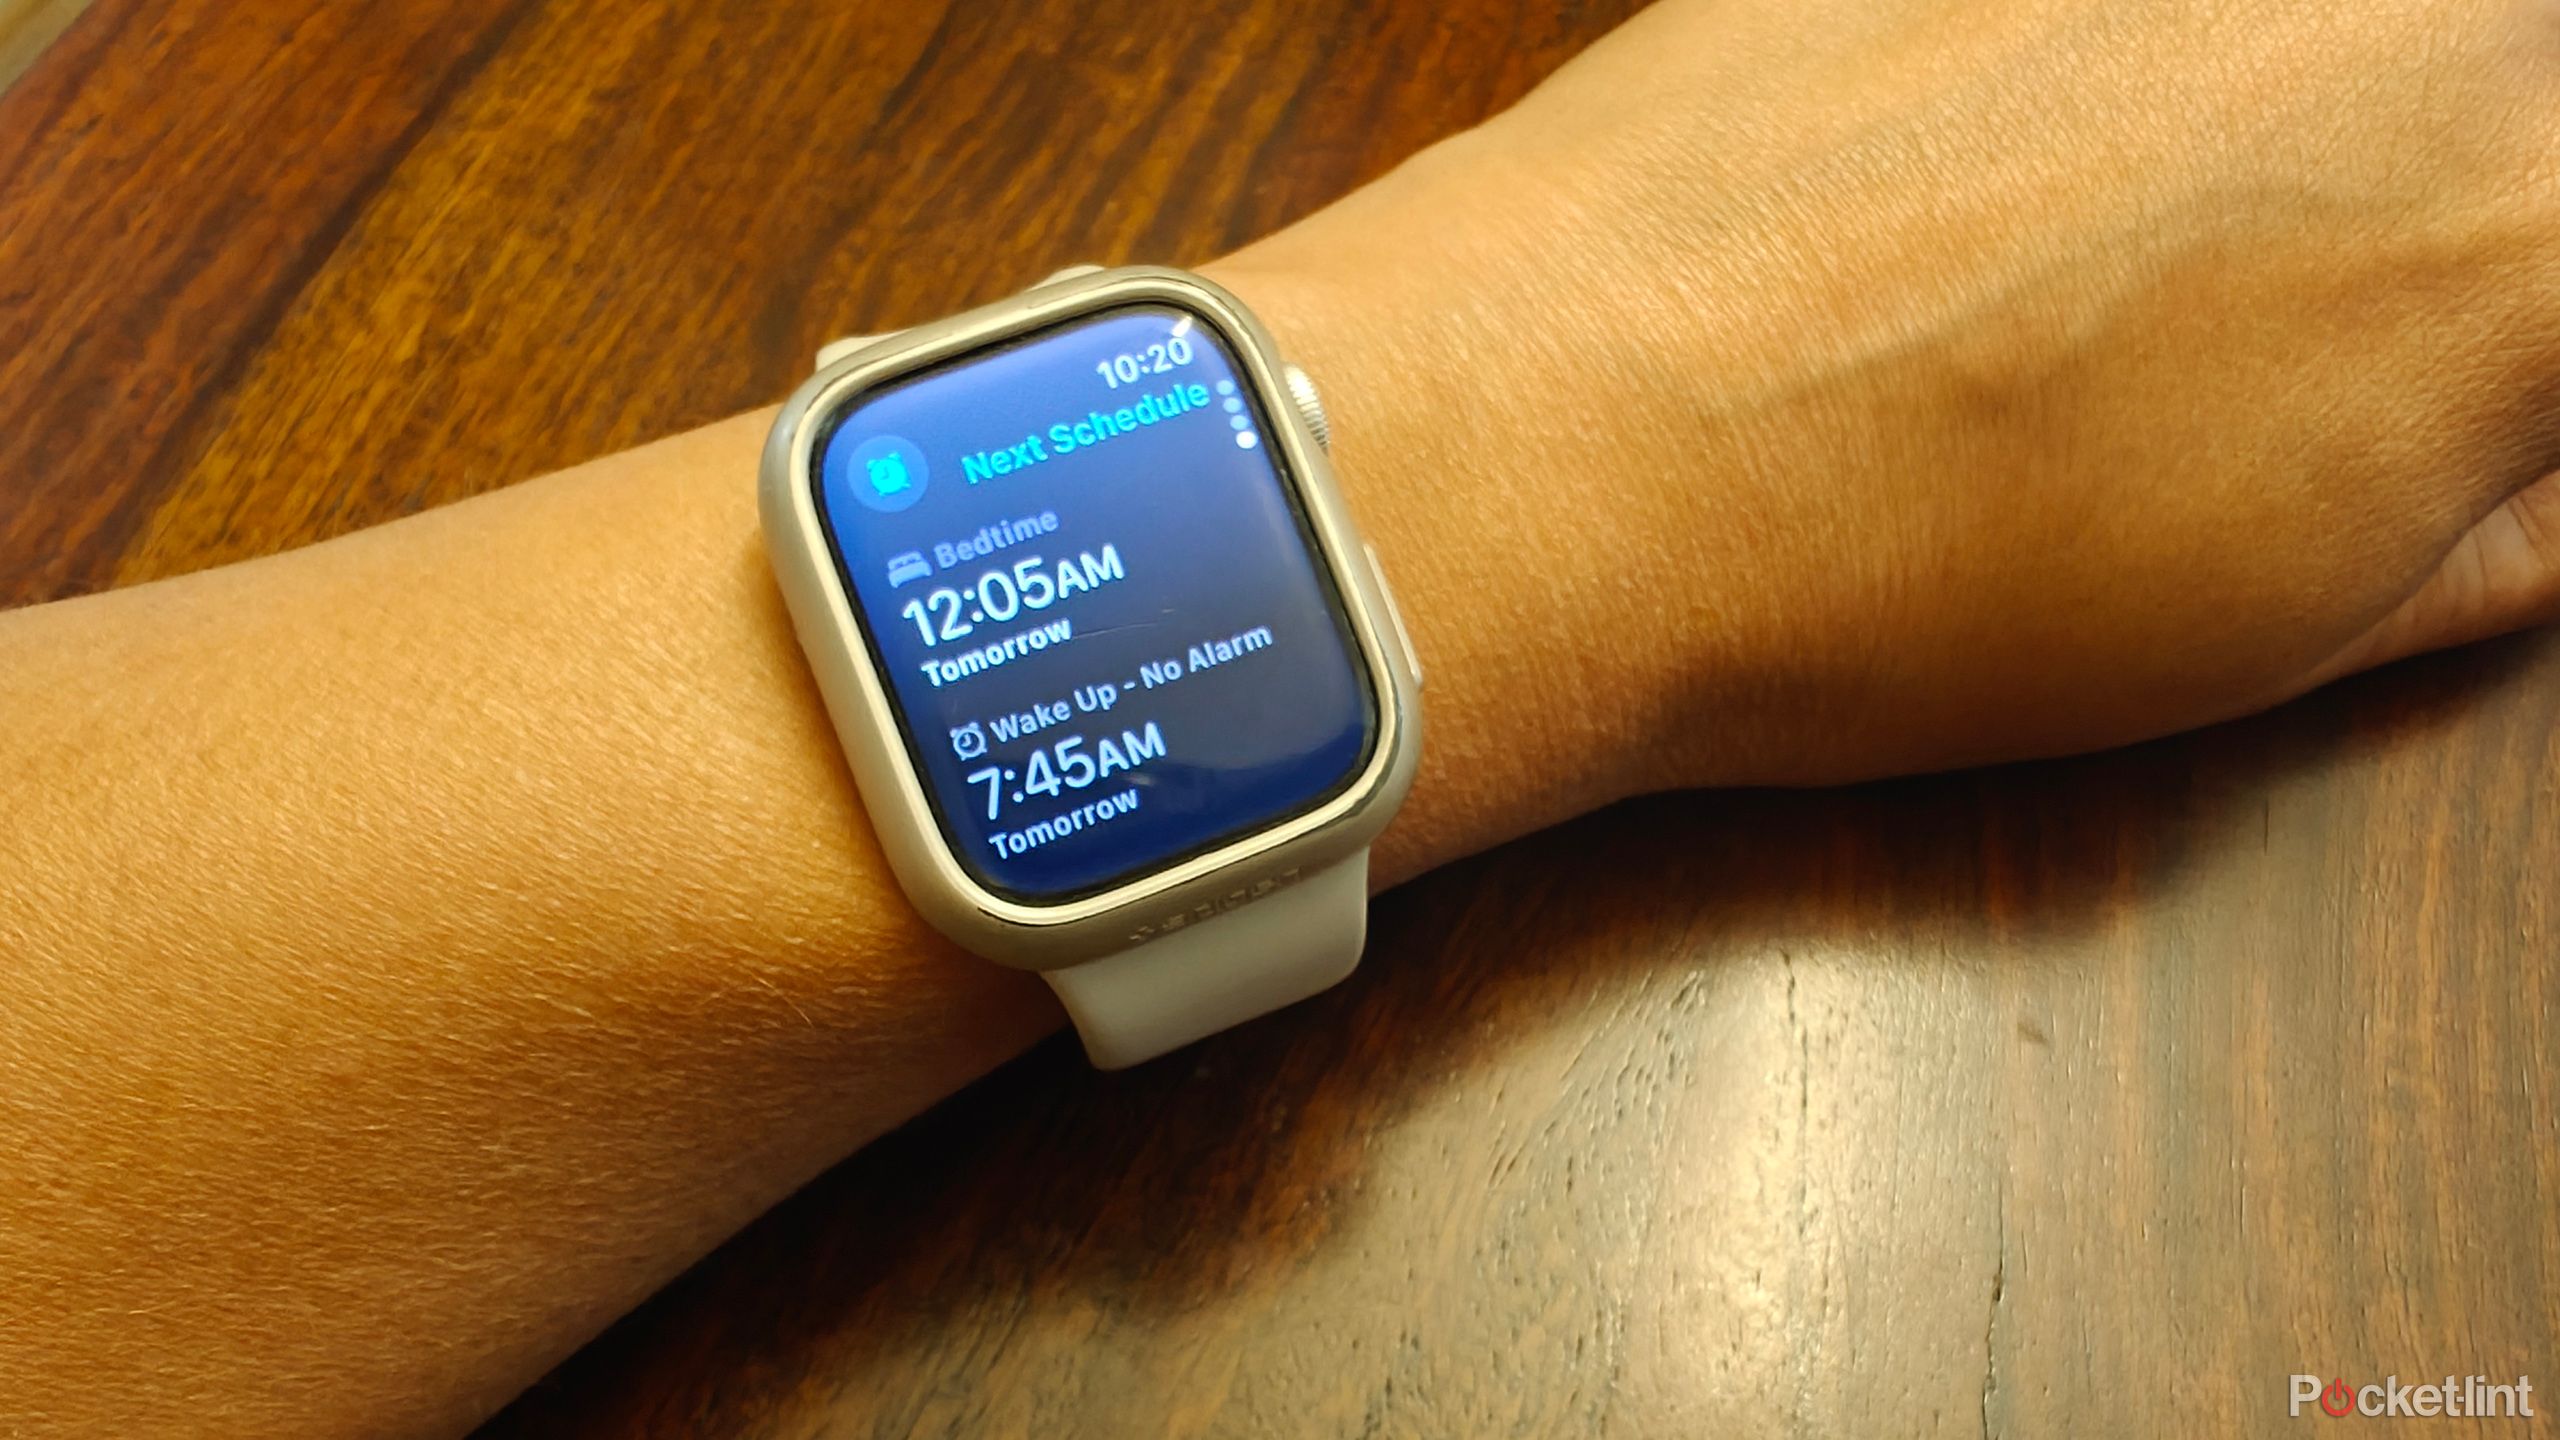
One of the annoying things about Apple Watch is that sleep tracking will not work unless you set a sleep schedule with your preferred sleep and wake times. You don’t necessarily have to go to sleep and wake up at these times. But Apple Watch uses this schedule to track your sleep, presumably looking to detect a change in your vitals at the time when you usually go to sleep. You might think this results in inaccurate readings, but I have compared sleep data from the Apple Watch to many other smartwatches and even smart rings, and the numbers typically fall in line with one another, with some slight variations in sleep stages. However, note that the Apple Watch does not track naps.
- Open the Apple Health app.
- Go to the Browse tab.
- Select Sleep.
- Select Your Schedule. Use the image of the clock to select your Bedtime and Wake-up Time. You can also select a wake-up alarm if desired.
- Tap Done once finished.
Related
How to make phone calls on Apple Watch
Did you know that you can make and receive phone calls on an Apple Watch, even without a Cellular model? It’s a useful feature and easy to do.
5 Start with modest fitness goals
Don’t be a hero
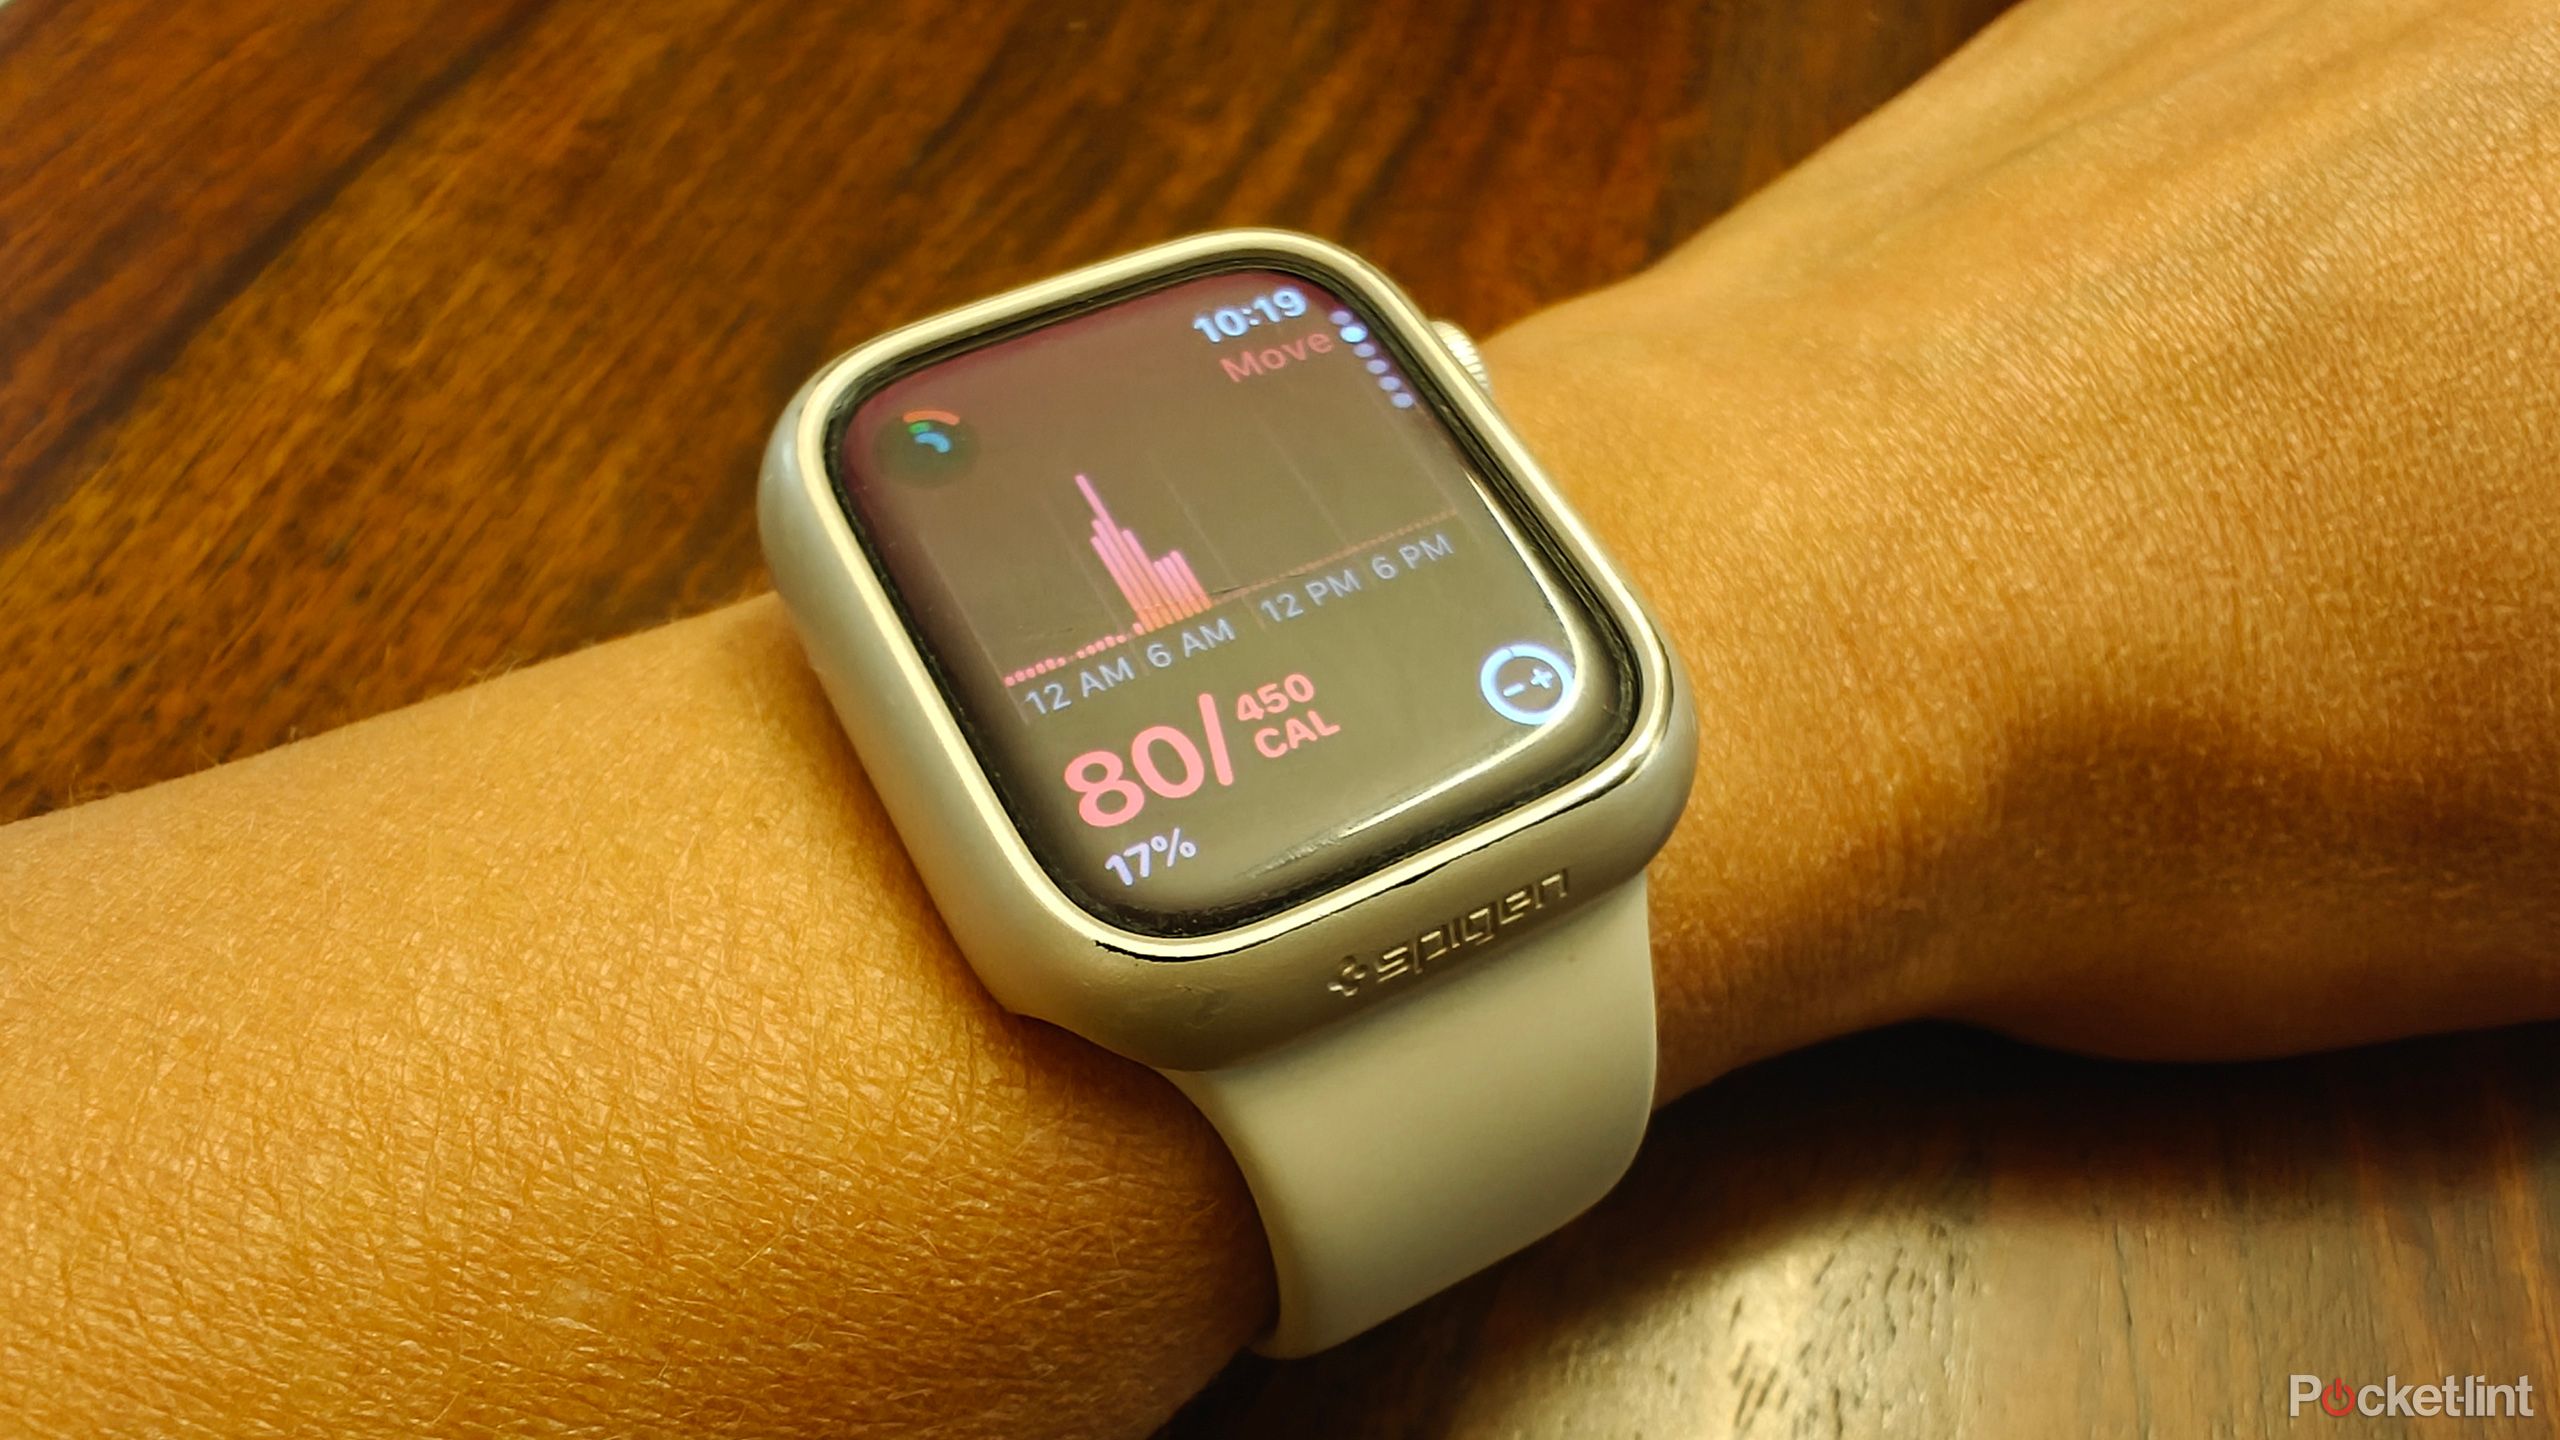
Unless you happen to be a fitness guru who already works out daily or you’re an accomplished athlete, start small with your fitness goals. You might be tempted to set aspirational goals for yourself, but give yourself time to get familiar with how the watch works and to get an idea of your personal benchmarks, especially if this is the first time you’re wearing a smartwatch. You might think burning 500 calories a day is a cinch, but trust me, it isn’t so easy! Go with the default recommendation for your Move, Exercise, and Stand rings. You can adjust these at any time once you’re ready to challenge yourself. I’d advise moving up in increments once you have a feel for your numbers over the first week or two.
- Open the Fitness app on your iPhone.
- Select your Profile icon.
- Select Change Goals.
- Change the Move, Daily Exercise, and Daily Stand goals to the number you want.
Note that with watchOS 11, you can adjust these goals for specific days, so you can take Sundays off from a workout, for example, and set your calorie burn goal to be much less on that day of the week. You can also pause your goals if you’re on vacation, sick, or have an injury.
6 Add custom Quick Replies
One tap to frequently used replies
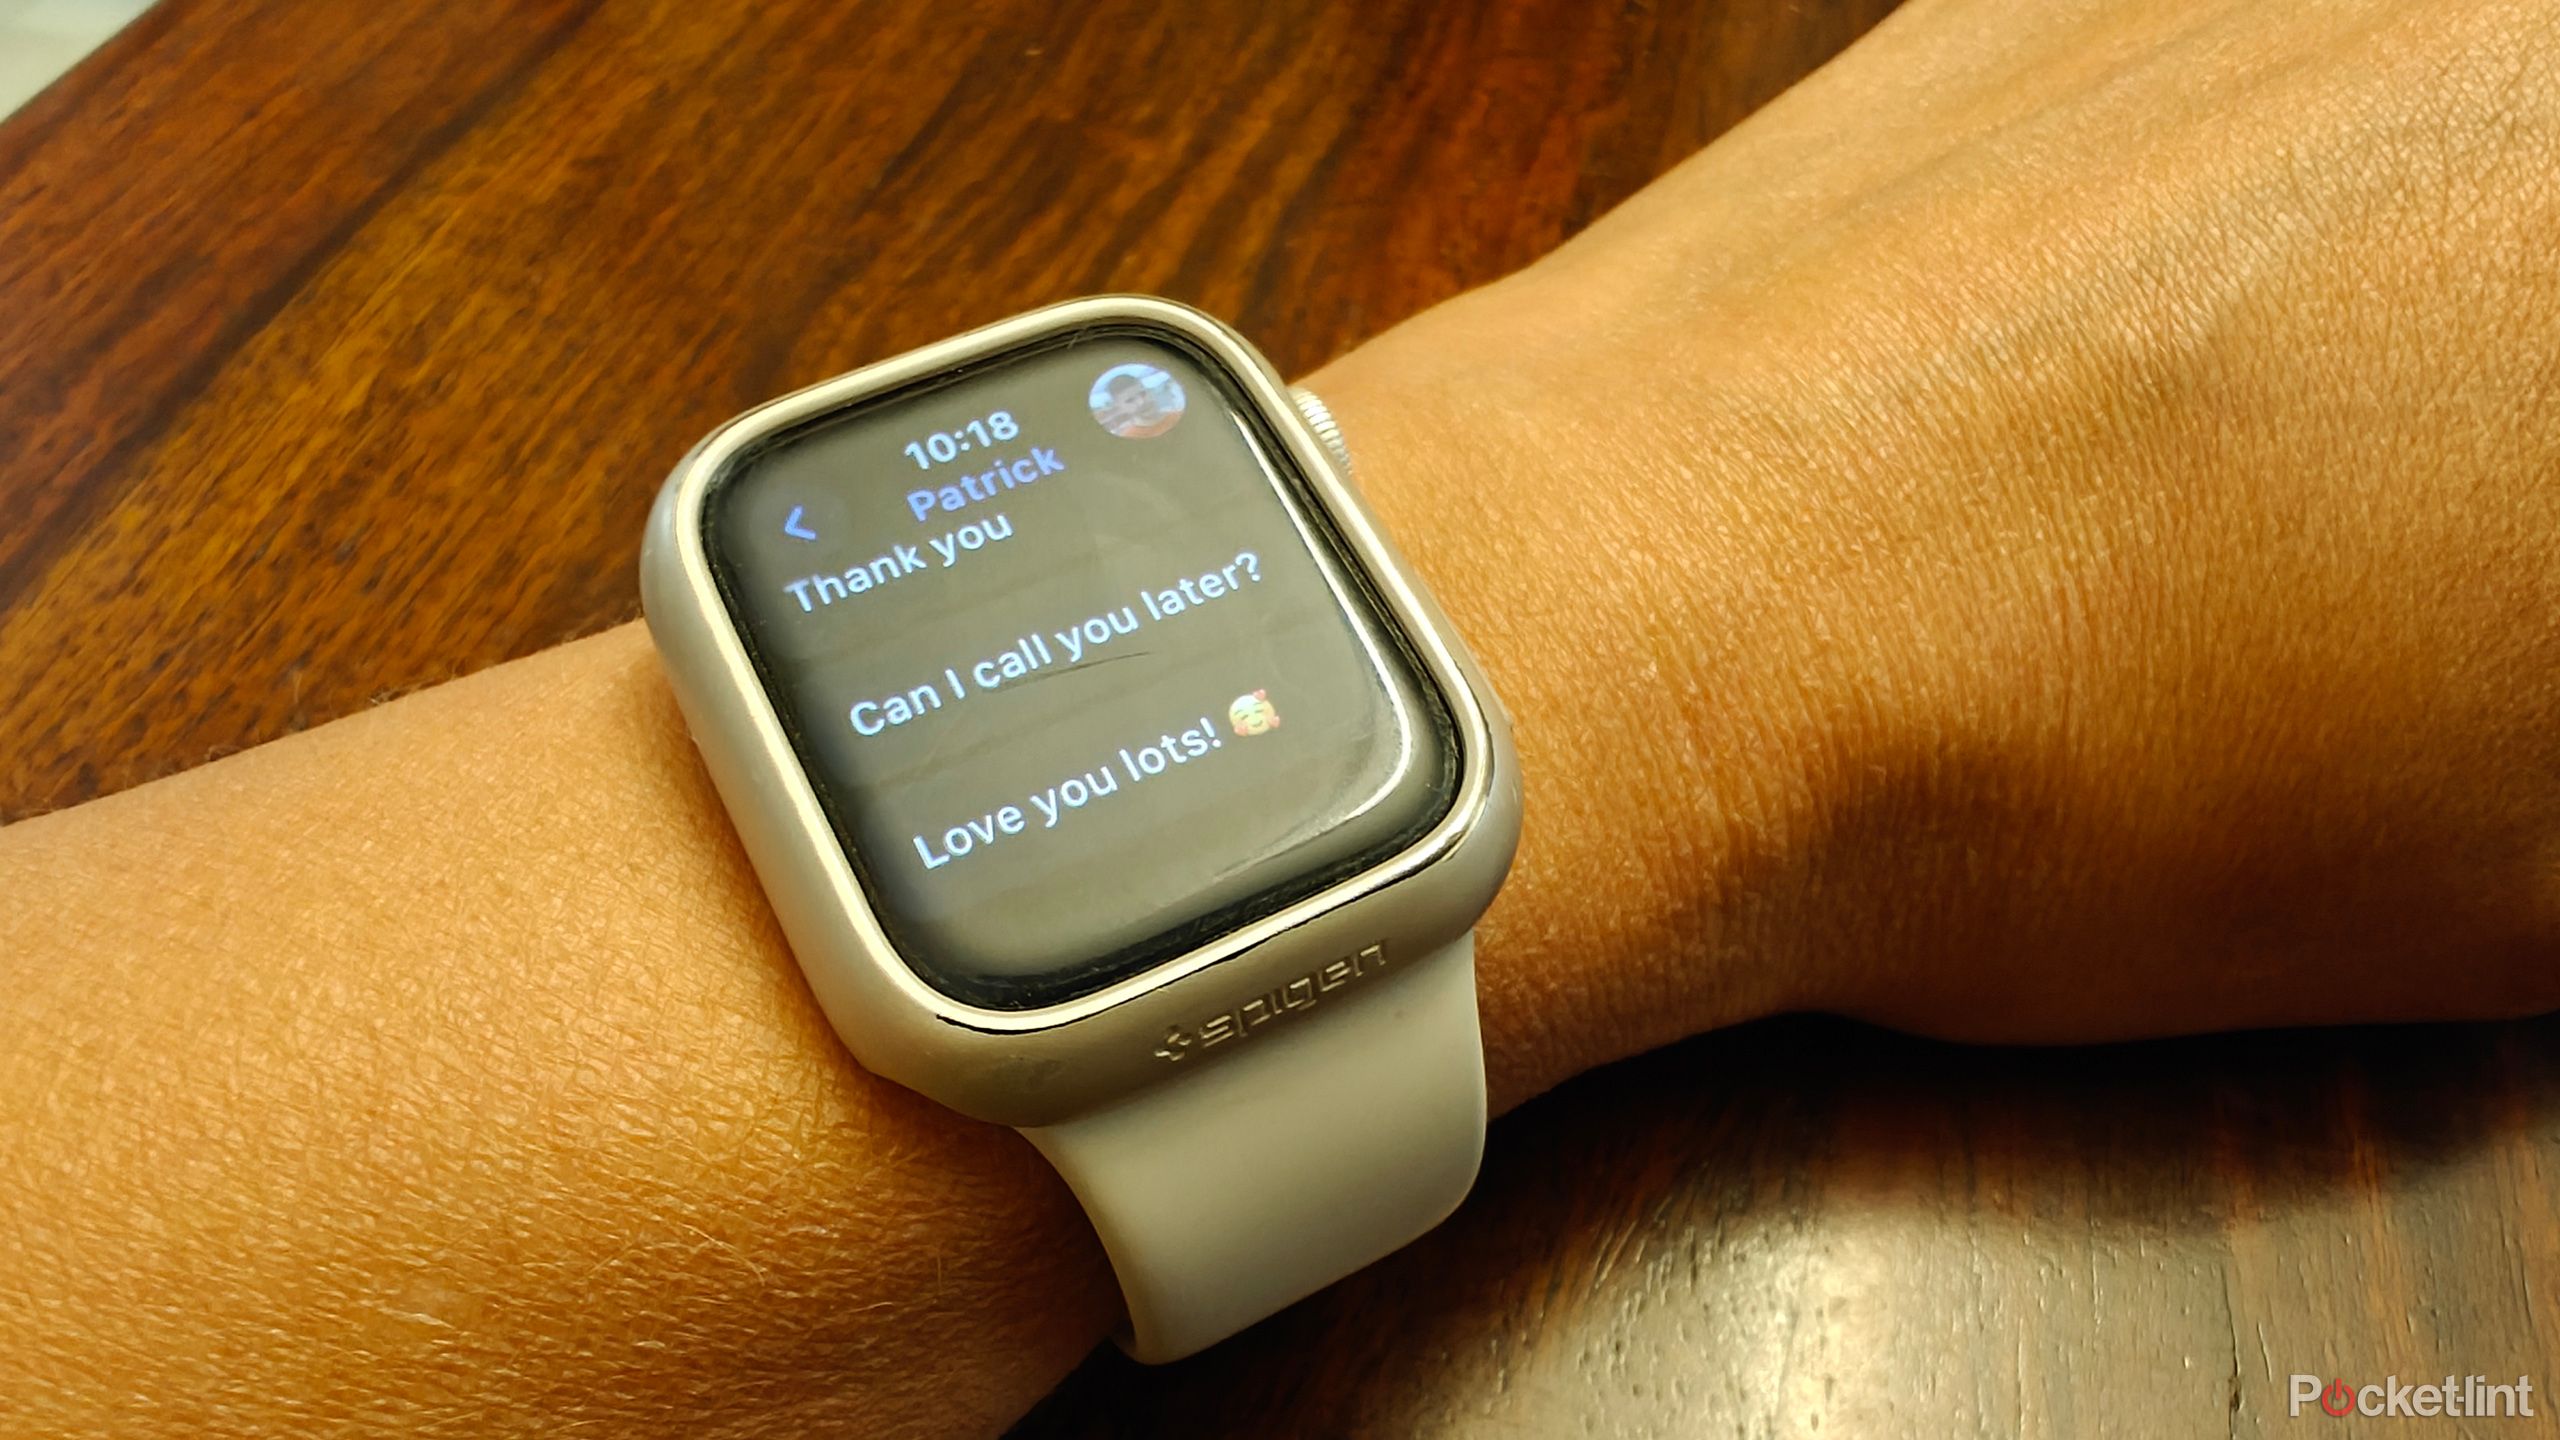
Apple Watch can display notifications of incoming messages and you can also quickly reply to them. Using the tiny on-screen keyboard isn’t the easiest nor fastest way, which is why Apple offers Quick Replies. These include basic and common responses like “Ok,” “Thank you,” and “Can I call you later?” There are also Suggestions that pop up based on the context of the message, like “Kk thx” and “Ok good.” But did you know you can add your own custom Quick Replies, too? Use phrases that you might often use for those with whom you communicate frequently. It might be to tell your friends or spouse “I’m working late tonight,” or maybe you want to use a cute phrase for your child, like “Love you lots!” or a usual reminder like “Please feed the dog.”
- Open the Watch app on your iPhone.
- Select the My Watch tab.
- Scroll down to Messages.
- Select Default Replies.
- Choose Add reply and type your text. You can even include an emoji or two.
Now, when you want to reply to someone from your Watch or send a message, you can scroll through the suggestions and choose the one you just added.
Related
11 Apple Watch apps to install and try first
These apps will extend the functionality of your Watch beyond what Apple’s first-party software does.
Trending Products

Cooler Master MasterBox Q300L Micro-ATX Tower with Magnetic Design Dust Filter, Transparent Acrylic Side Panel, Adjustable I/O & Fully Ventilated Airflow, Black (MCB-Q300L-KANN-S00)

ASUS TUF Gaming GT301 ZAKU II Edition ATX mid-Tower Compact case with Tempered Glass Side Panel, Honeycomb Front Panel, 120mm Aura Addressable RGB Fan, Headphone Hanger,360mm Radiator, Gundam Edition

ASUS TUF Gaming GT501 Mid-Tower Computer Case for up to EATX Motherboards with USB 3.0 Front Panel Cases GT501/GRY/WITH Handle

be quiet! Pure Base 500DX ATX Mid Tower PC case | ARGB | 3 Pre-Installed Pure Wings 2 Fans | Tempered Glass Window | Black | BGW37

ASUS ROG Strix Helios GX601 White Edition RGB Mid-Tower Computer Case for ATX/EATX Motherboards with tempered glass, aluminum frame, GPU braces, 420mm radiator support and Aura Sync


