Key Takeaways
- You can use a Raspberry Pi to automate your entire smart home without spending much.
- Home Assistant’s software simplifies setting up automations with various smart home devices.
- You can employ MQTT with Home Assistant to control devices efficiently from your Raspberry Pi.
The idea of a fully integrated smart home isn’t a dream of the past anymore — it’s a present opportunity. However, the only problem is that turning your home into a smart home can be expensive. You’ll likely need to upgrade multiple devices, grabbing the latest state-of-the-art technology to make sure your home is updated and running at its peak. This may mean upgrading security cameras, buying smart door locks, adding smart speakers if you don’t have them already, and adjusting your temperature with a smart thermostat.
If you realize that you probably will need to buy a hub as well to automate an entire setup, that’s another added expense you need to consider. Creating the right home ecosystem means enabling all your devices to communicate with one another via Matter or Thread technology. Or, you can buy all the same brand of technology in order to have them integrate better with one another. But there is a way to run your smart home without having to buy the latest editions of all of your devices.
Related
Best smart thermostat: Options from Nest, Ecobee, Amazon, and more
Smart thermostats can help you save money. Here are some of the best options and the features they offer.
You can run your entire smart home with the help of a Raspberry Pi. The single-board computer can be the smart home hub that you want and can work to make your smart home smarter. Read on to learn how to set one up .
What is a Raspberry Pi?
This single-board computer can do so much
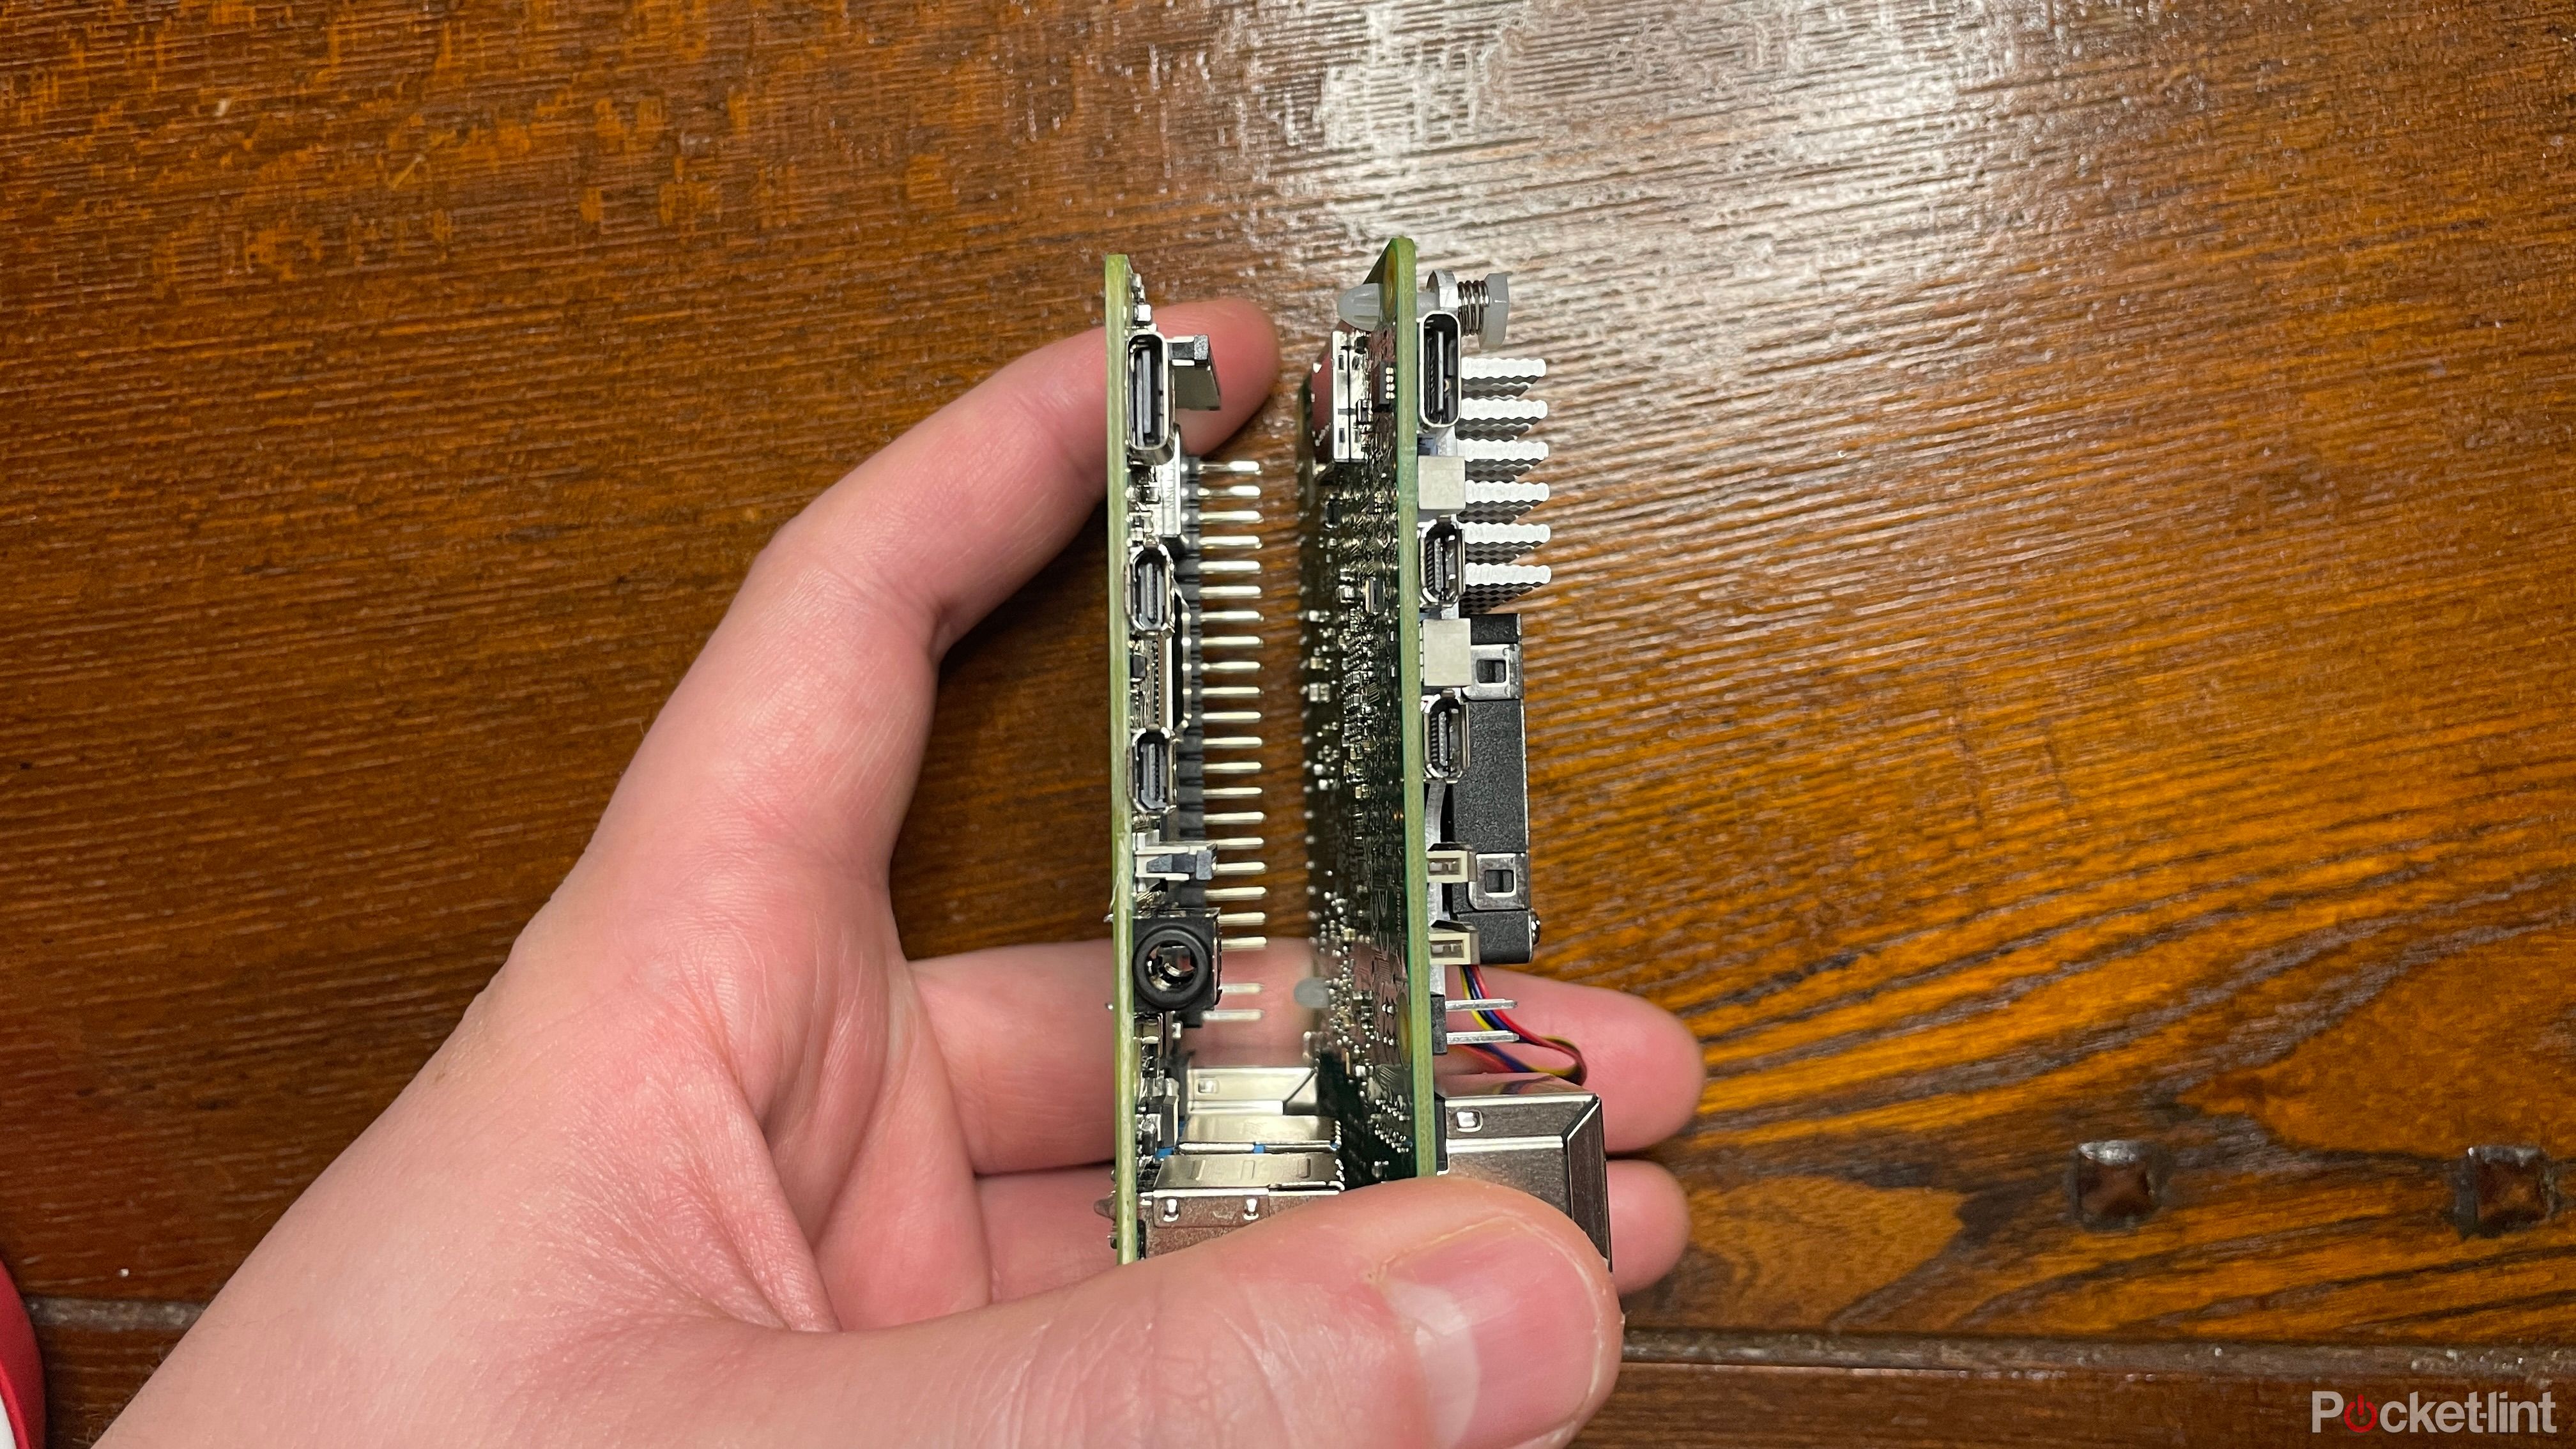
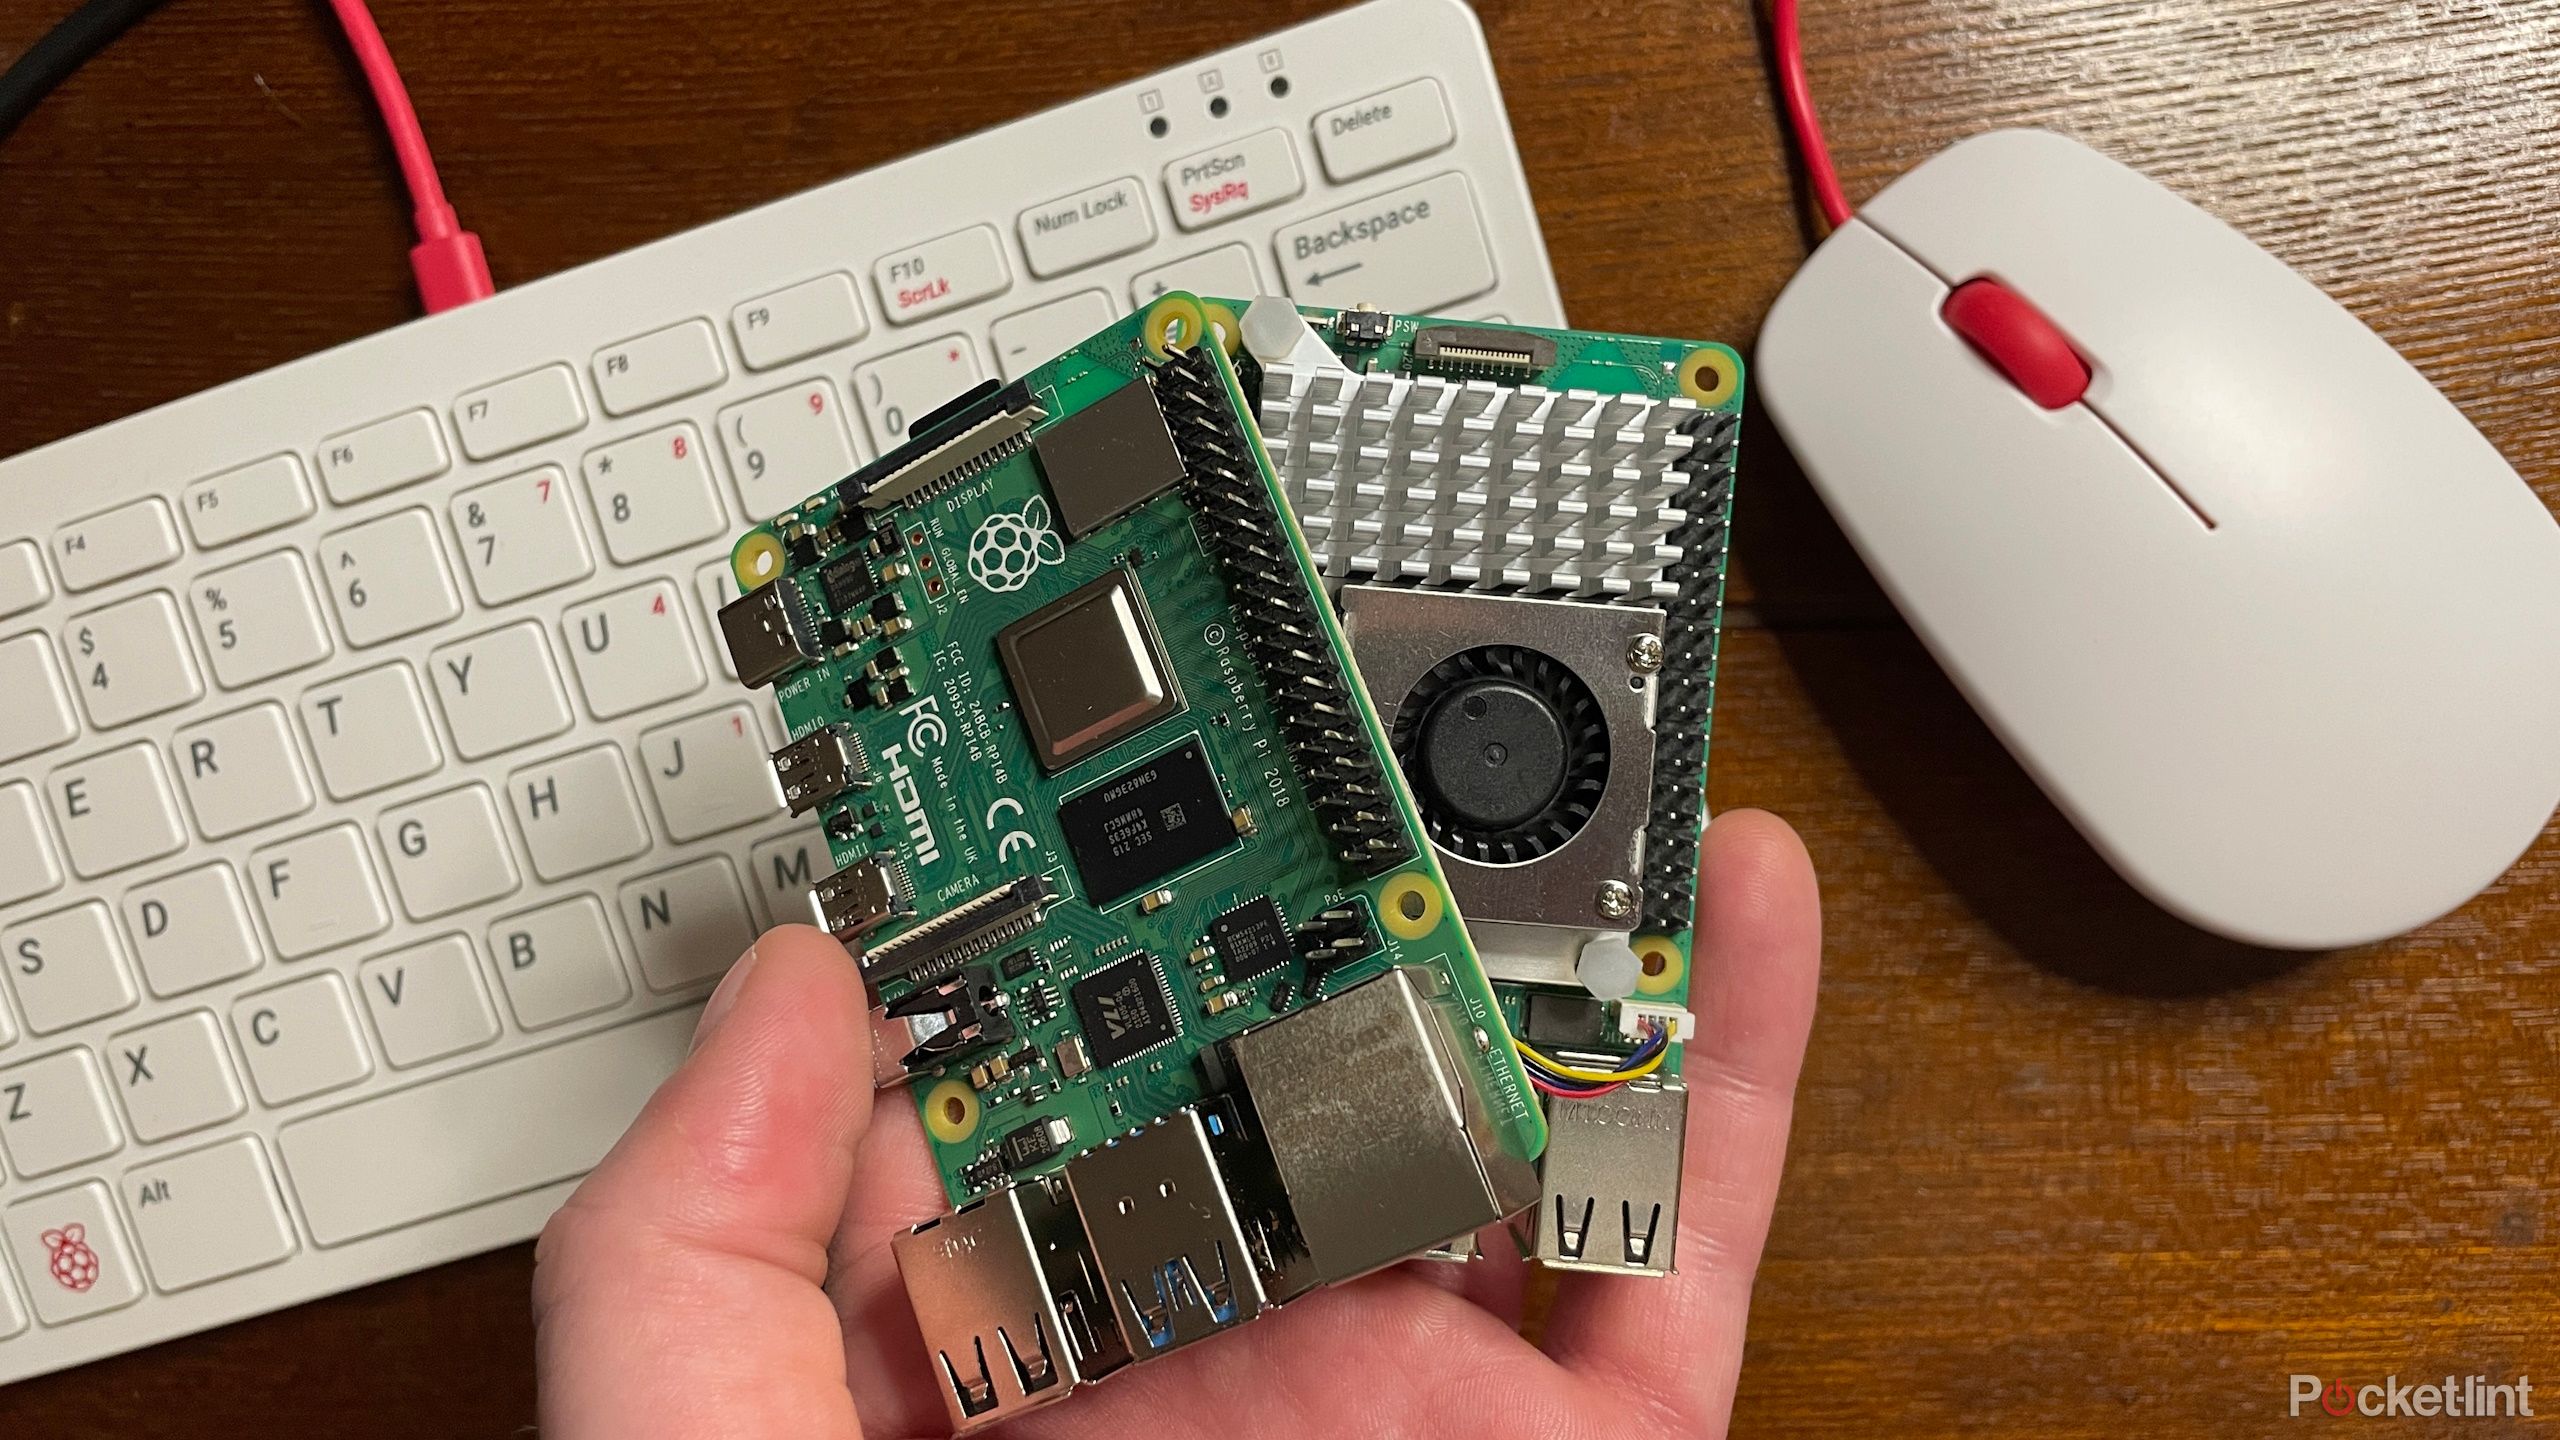
A Raspberry Pi is a single-board computer that is ideal for people who love tinkering with gadgets and are looking to build a computer of their own. Learning the inner workings of a computer is important for those interested in the topic and that starts with the motherboard.
A Raspberry Pi holds memory, the central processing unit, and I/O ports, which are all found inside a computer. Basically, you can use a Raspberry Pi as your own computer.

Related
My Raspberry Pi 5 is a delight, and I’m excited about all its future uses
The Raspberry Pi 5 has plenty of upgrades, but do you need all that extra horsepower? I put it to the test.
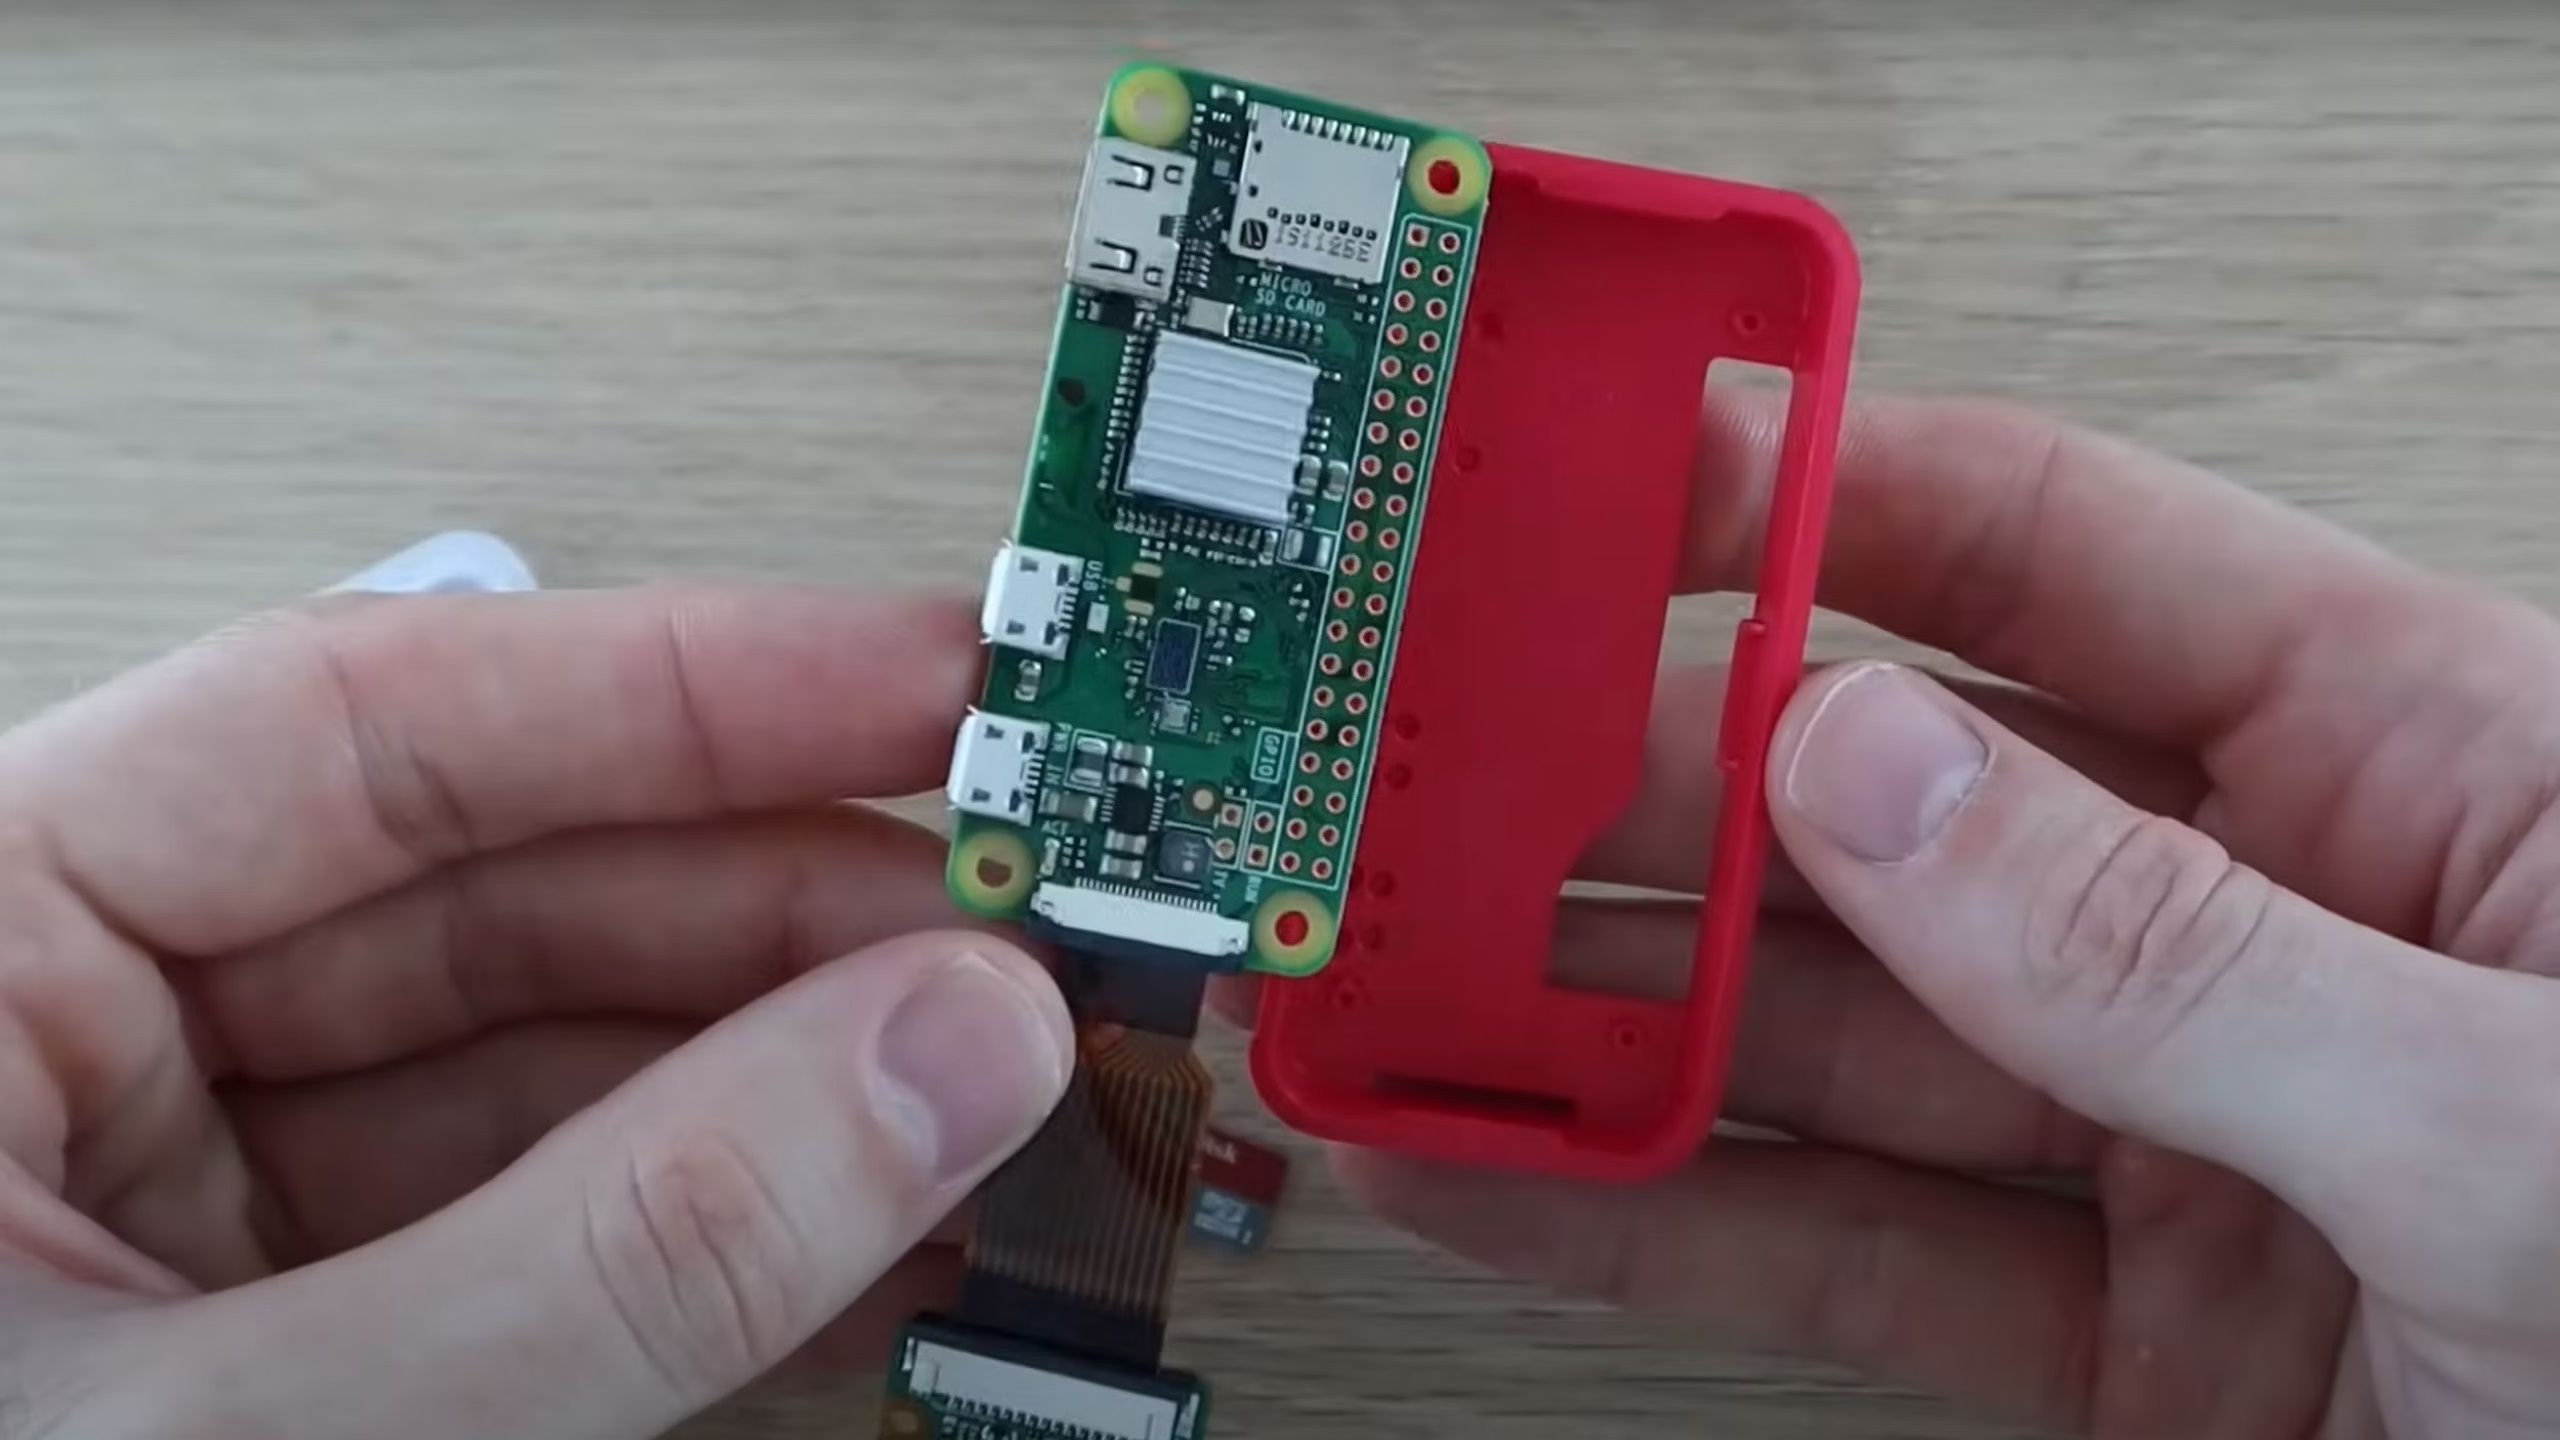
But, you can also use it to automate things such as lights, cameras, and other smart home devices. Finding the right Raspberry Pi kit is important, as you’ll want to make sure it has enough power to run the processes you need it to. There are many different Raspberry Pi kits and iterations, but they’re all built as single-board computers that can process data and carry out tasks similar to a laptop or a PC.
Raspberry Pi kits can vary in cost, depending on what comes with them. A starter kit may only cost you $100, but one that comes with more RAM and an upgraded CPU can set you back up to $400 or $500.
How to use it to run your smart home
The trick is Home Assistant
Nabu Casa / Pocket-lint
So, how exactly do you get your Raspberry Pi to automate your smart devices? Surely you need some kind of software to do it, right?
Enter Home Assistant. The open source home automation platform offers web support and an interface for many home ecosystems, like Zigbee, Z-Wave, Philips Hue, and more. It is constantly getting updated by users, so you’ll likely be able to find support for many of your smart home devices on it.
Installing Home Assistant on your Raspberry Pi is simple and free. You will need a Raspberry Pi 5 or 4, as they will have enough RAM to run the software, as well as a power supply, a microSD card, an Ethernet cable, and a laptop that has a SD card reader. Once you have that, the steps are as follows:
- Install Raspberry Pi OS using Rasperry Pi Imager.
- Open Raspberry Pi Imager and choose your Rasperry Pi.
- Under Choose OS, click Other specific-purpose OS, then Home assistants and home automation, then Home Assistant.
- Choose whichever Raspberry Pi you have in the drop down to download the proper version of Home Assistant.
- Insert a microSD card into your computer and overwrite it with writing the installer onto the SD card. Then eject the SD card.
- Plug in the SD card into Raspberry Pi and plug in an Ethernet cable while making sure it’s connected to the same network as your computer.
- Plug in Raspberry Pi’s power cord and start it up. Once it starts up and you enter the browser for your desktop system, input homeassistant.local:8123. It should show up within a minute or two.
After that, you’ll have Home Assistant installed on your Raspberry Pi.
Home Assistant has software and automations for hundreds of devices, from security cameras to smart plugs to light bulbs and more. You can even sync it up with your smart fridge to learn how long the door has been open in a day. Home Assistant provides plenty of information and possibilities when it is hooked up to a computer.
0:51
Related
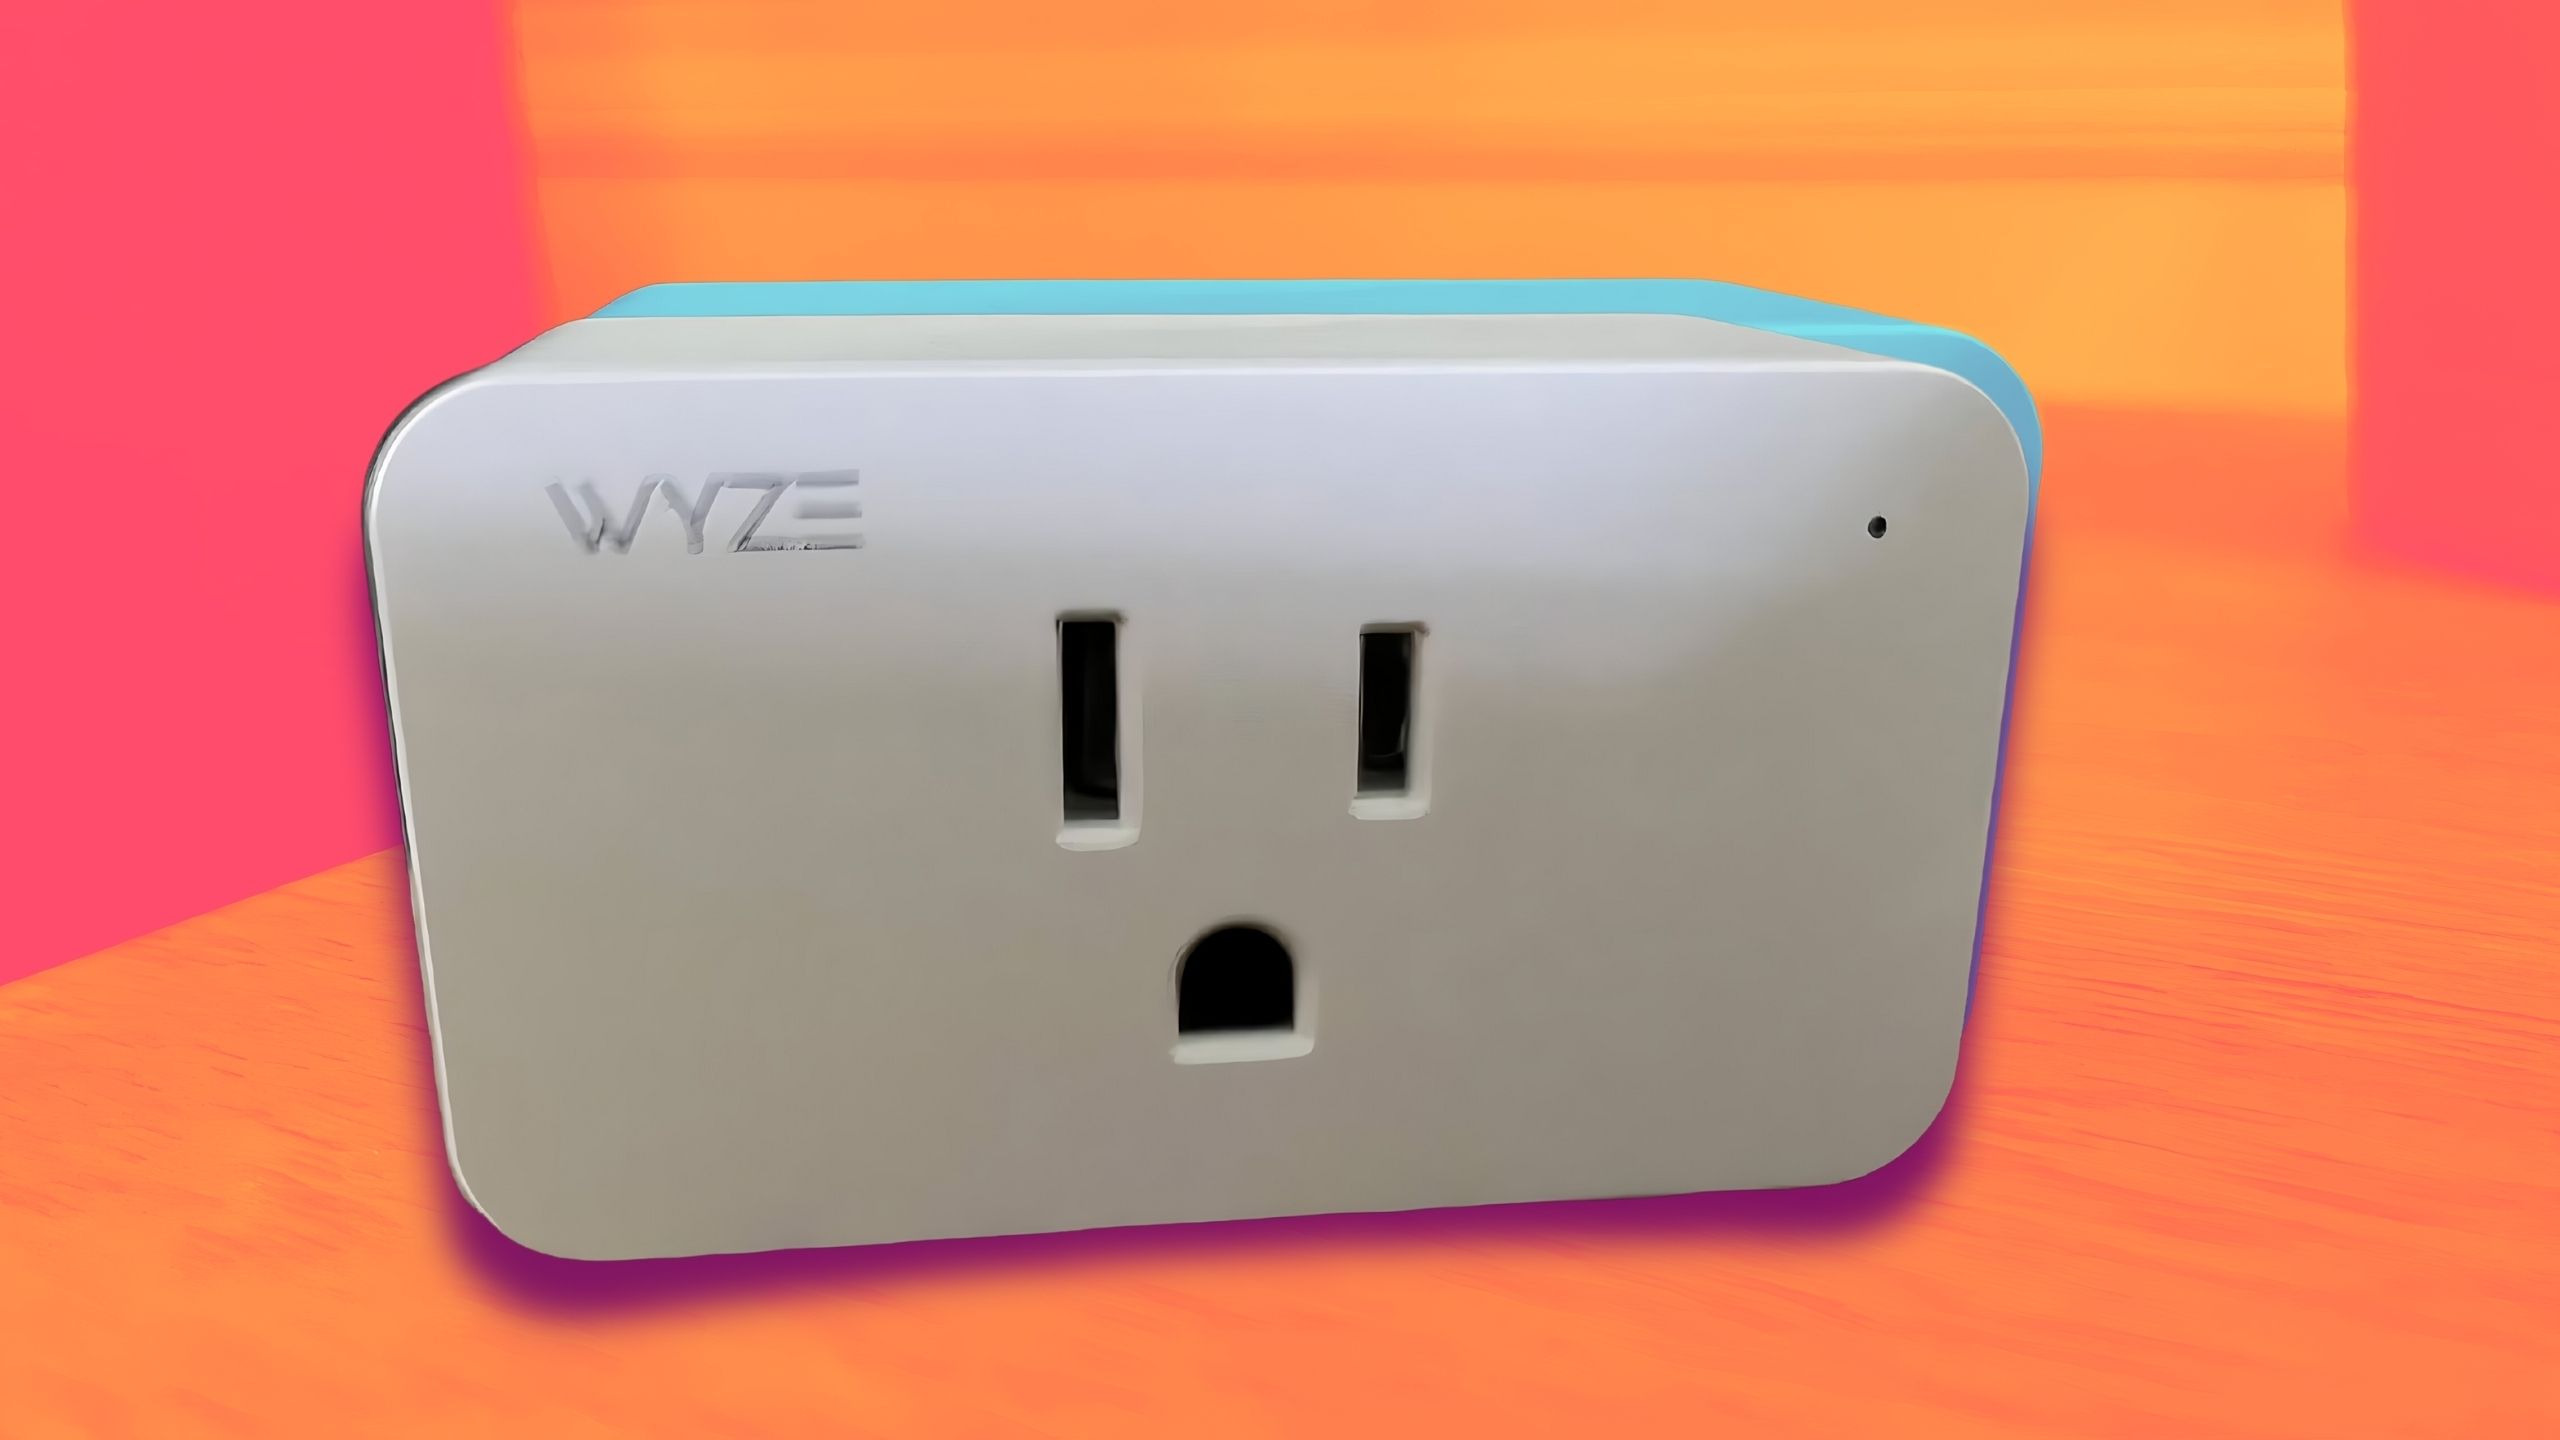
The Wyze Plug is a tremendous value buy for your smart home
Getting two for the price of one is a steal.
Don’t rely on a monitor to run your smart home
Make your own DIY hub
Framework
Rather than relying on plugging your Raspberry Pi into a monitor to run your smart home, make it easier by reusing an old tablet or getting a new one to use as a display. This way, it’s more mobile, and you can actually keep everything in one case rather than carrying around items separately. This is also the best way to utilize Home Assistant with ease.
Using Home Assistant will allow you to list all of your devices in one location, giving you an easier time setting up automations and controlling them.
Finding a touchscreen display module, which is cheaper than buying a new tablet, can plug into your Raspberry Pi and be the screen that you use to work everything through. Plugging the Raspberry Pi into the module will bring life to the computer and software, which is how you’ll set up integrations with your devices and be able to use them wherever you are in your home. Using Home Assistant will allow you to list all of your devices in one location, giving you an easier time setting up automations and controlling them.
Related
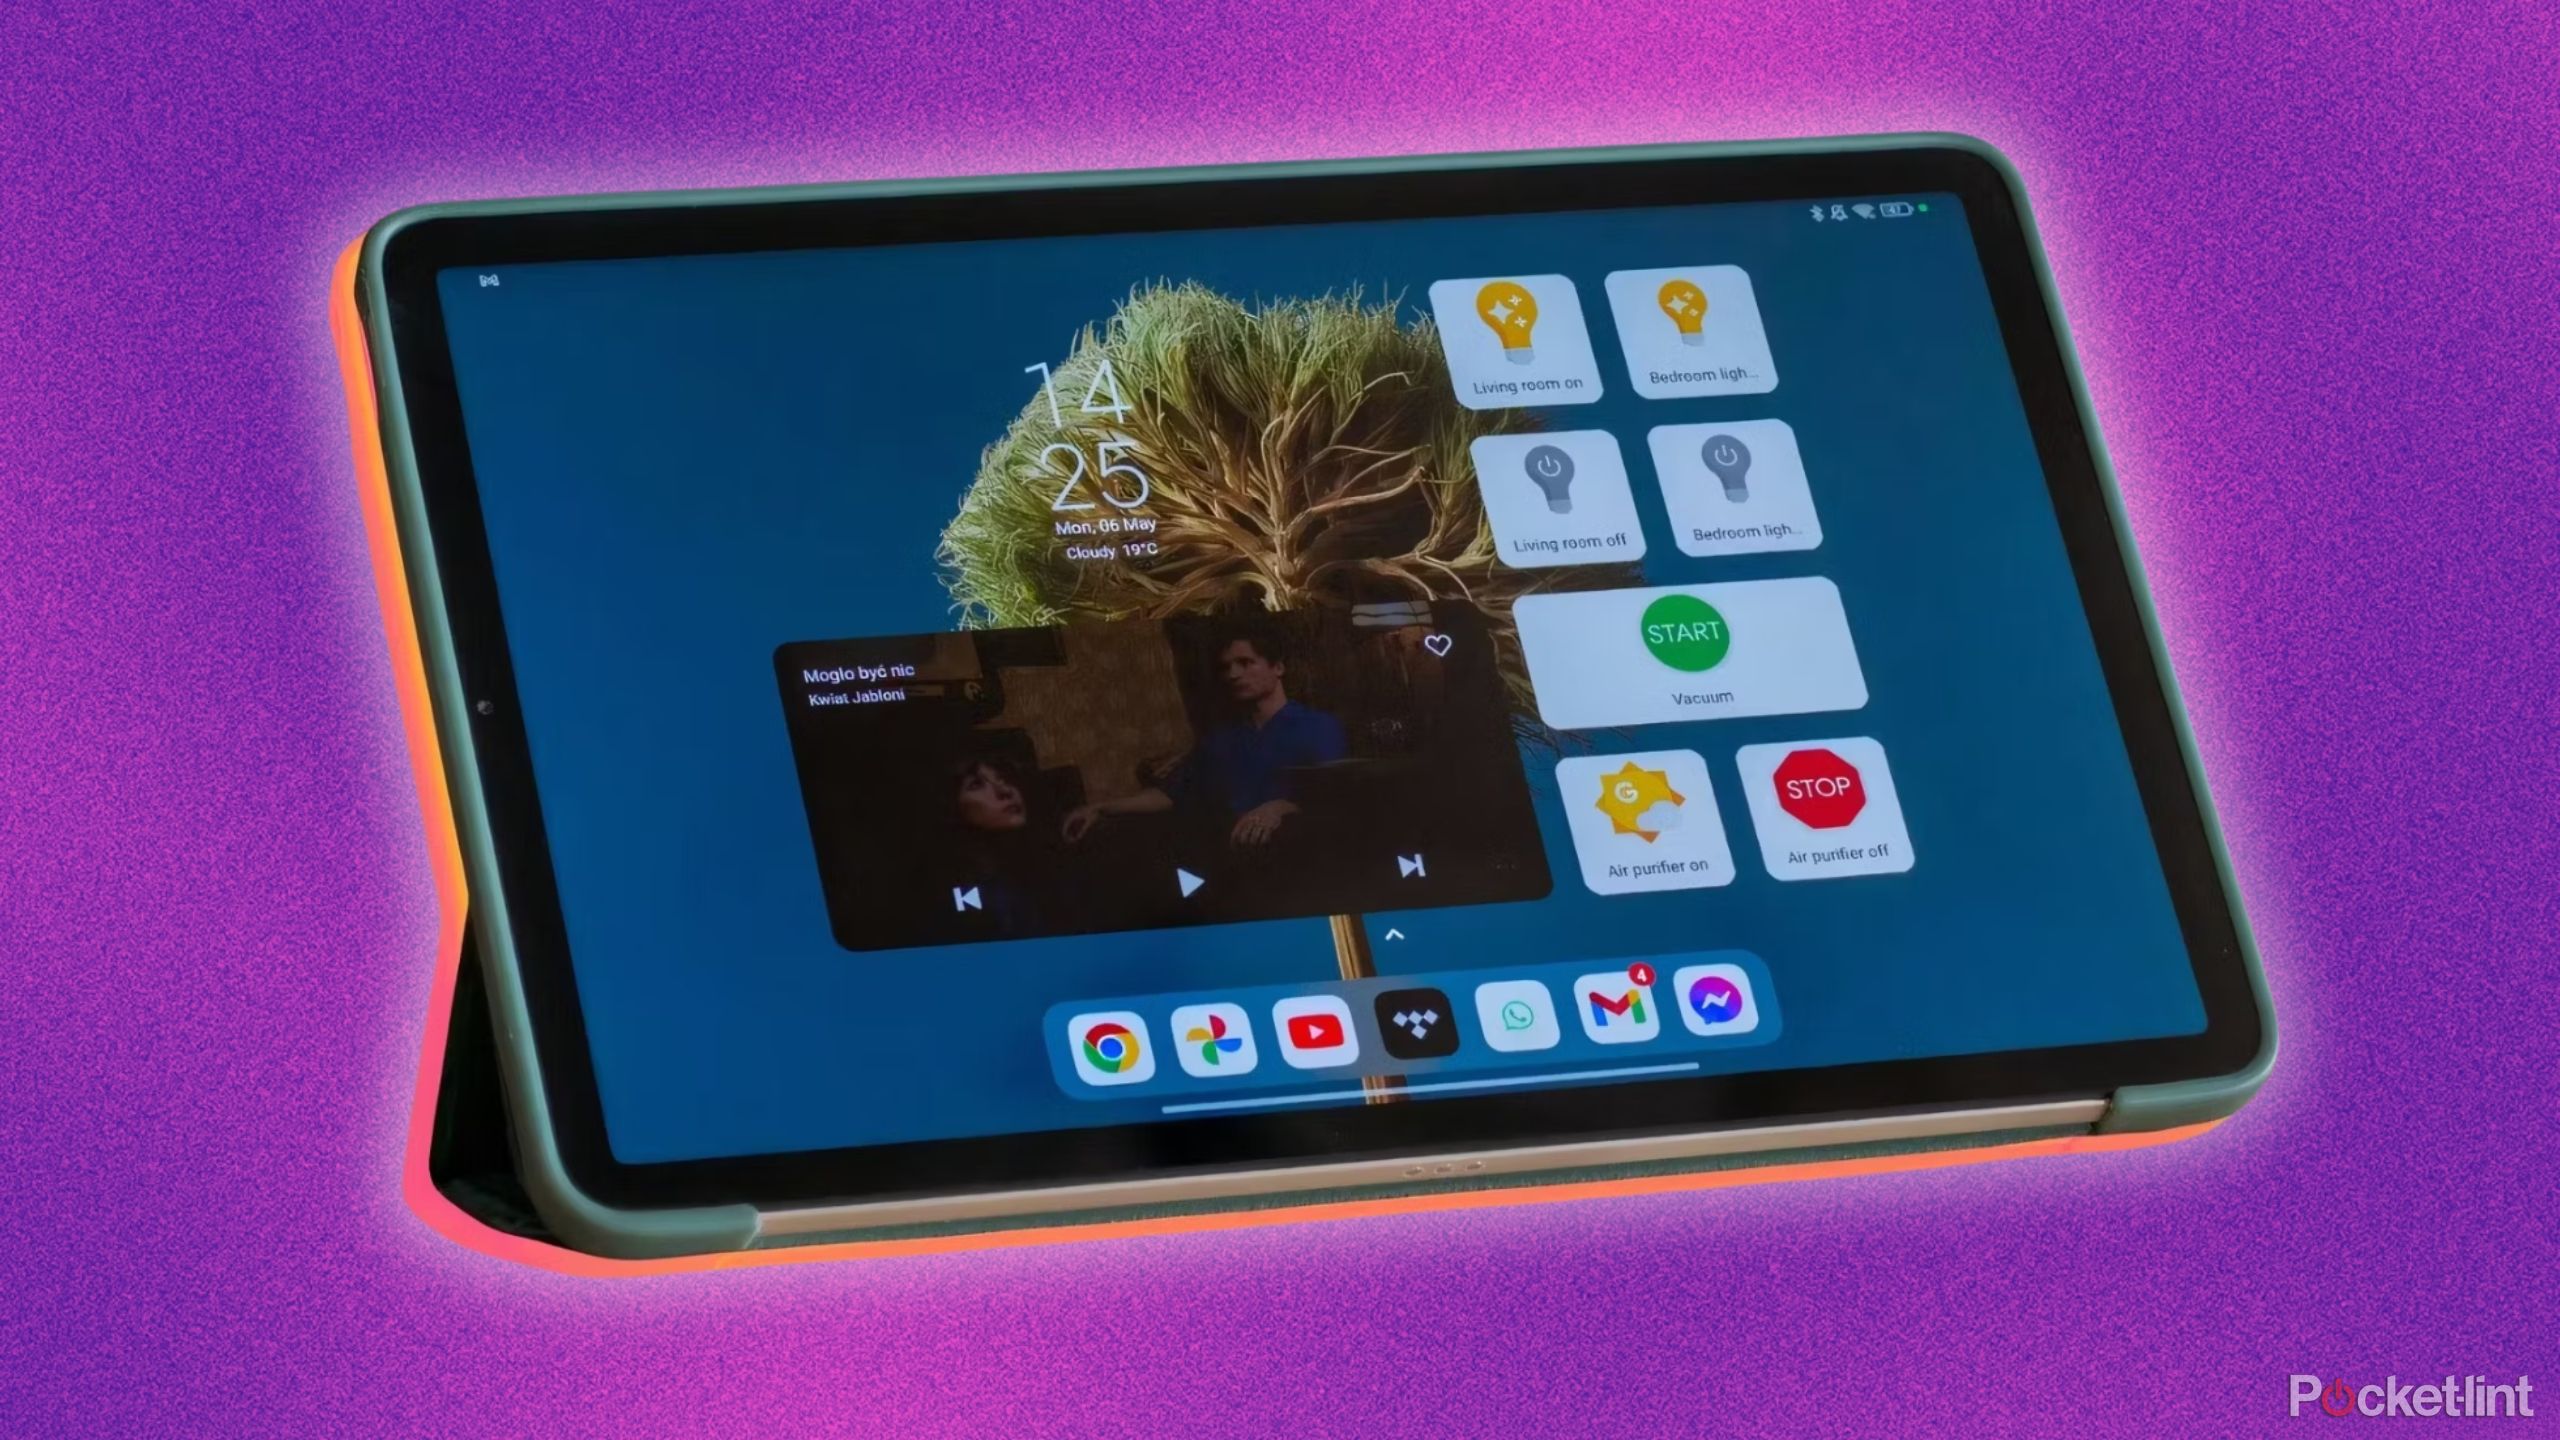
Here’s how to turn your old tablet into a smart home display hub for free
If you have a few minutes on hand, you can repurpose your old tablet and make it the center hub of your smart home.
MQTT to the rescue
Get the most out of your Raspberry Pi
You can run Home Assistant with your Raspberry Pi, and it will work just fine. But, if you want to specifically handle your smart home devices and have the ability to set up things like voice commands and motion detectors, MQTT is a good addition. MQTT stands for Message Queuing Telemetry Transport and it is a messaging protocol. It’s the bridge between Home Assistant and the smart home devices.
You can set up MQTT with the following steps:
- Hit the Add Integration to My Home Assistant button.
- If that doesn’t work, you can browse to your Home Assistant instance and go to Settings, then Devices & Services.
- There is an Add Integration button in the bottom right corner. Click that and select MQTT from the list.
- After that, just click through a few pop-up boxes and you’re all set with MQTT.
MQTT is the link between the devices and Home Assistant in your Raspberry Pi.
Setting up an MQTT broker on your Raspberry Pi will give you added integration power and allow you to control your devices more efficiently from your Raspberry Pi through Home Assistant. This will allow you to set up devices like a Philips Hue bridge or an Aqara Hub M3 if you have devices that require a hub or bridge to use them. MQTT is the link between the devices and Home Assistant in your Raspberry Pi. It can also help set up voice controls through Google Home or Amazon Alexa, which are integrated into Home Assistant and run through the Raspberry Pi.
Related
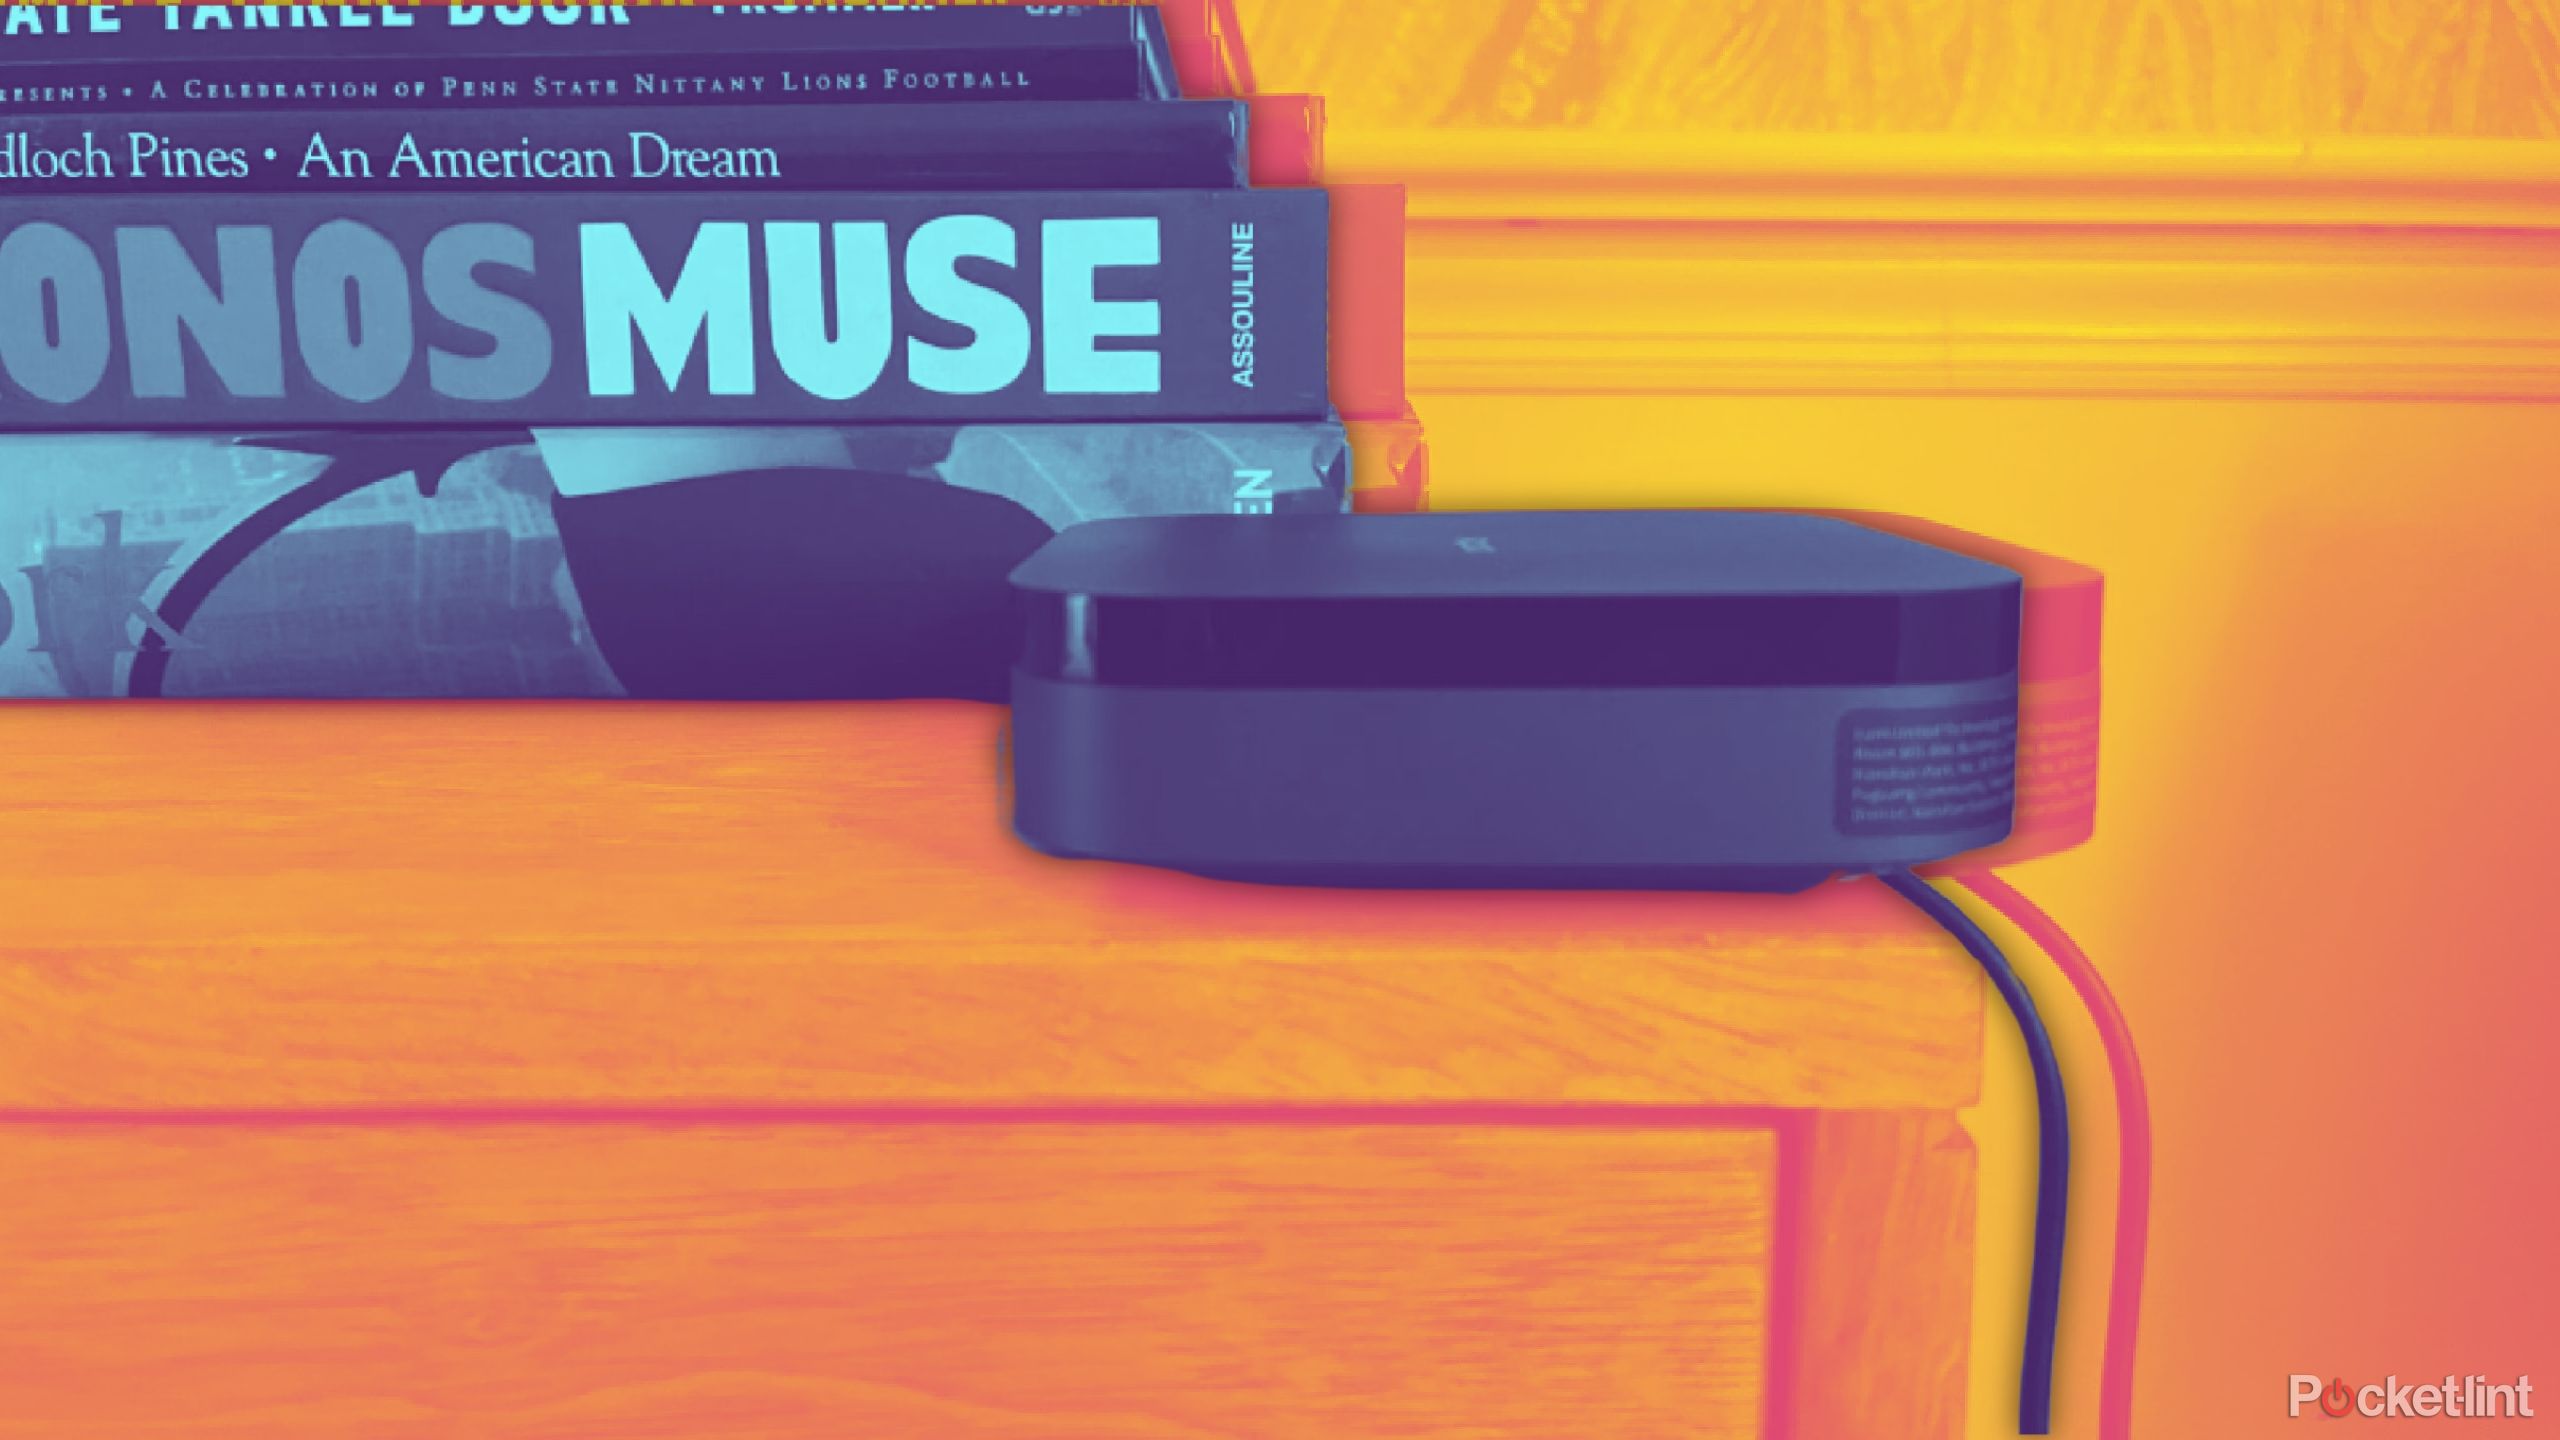
Aqara Hub M3 is a smart home hub packed with possibilities
The Aqara Hub M3 helps you get the most out of all of your Aqara devices.
More possibilities
What can you run through Raspberry Pi
@MichaelKlements
By hooking up other pieces of equipment to your Raspberry Pi, you can automate your smart home without the need for Home Assistant also. You can integrate sensors to monitor the temperature, negating the need for a smart thermostat. You can also use a relay module and the Raspberry Pi to automate a smart sprinkler like one from Rachio. Of course, you’re able to get more out of the system with Home Assistant, which is what I would recommend. But if you don’t want to use it, there are ways for you to integrate your smart home devices with the help of this little computer.
Overall, using a Raspberry Pi 5 or Raspberry Pi 4 along with Home Assistant and MQTT can give you the smart home ecosystem automation platform that you’ve been looking for. Add in a module with a touchscreen, and you’ve made your own smart home hub.
Related
Best smart home hub: One device to rule them all
These smart home hubs make home automation even simpler.
Trending Products

Cooler Master MasterBox Q300L Micro-ATX Tower with Magnetic Design Dust Filter, Transparent Acrylic Side Panel, Adjustable I/O & Fully Ventilated Airflow, Black (MCB-Q300L-KANN-S00)

ASUS TUF Gaming GT301 ZAKU II Edition ATX mid-Tower Compact case with Tempered Glass Side Panel, Honeycomb Front Panel, 120mm Aura Addressable RGB Fan, Headphone Hanger,360mm Radiator, Gundam Edition

ASUS TUF Gaming GT501 Mid-Tower Computer Case for up to EATX Motherboards with USB 3.0 Front Panel Cases GT501/GRY/WITH Handle

be quiet! Pure Base 500DX ATX Mid Tower PC case | ARGB | 3 Pre-Installed Pure Wings 2 Fans | Tempered Glass Window | Black | BGW37

ASUS ROG Strix Helios GX601 White Edition RGB Mid-Tower Computer Case for ATX/EATX Motherboards with tempered glass, aluminum frame, GPU braces, 420mm radiator support and Aura Sync


