Cream cheese frosting holds a special place in the world of desserts. It’s creamy, it’s rich, and it pairs beautifully with a variety of baked goods. Whether you’re a seasoned baker or just starting out, mastering this frosting can elevate your desserts from good to unforgettable. It’s the kind of recipe that, once you try it, you’ll find yourself coming back to time and again, not just for its flavor but for its simplicity and versatility.
Cream cheese frosting is an absolute must on carrot cake, red velvet cake, and banana cake!
Why You’ll Love This Recipe
- Easy to make with only a few ingredients.
- Perfect for cakes, cupcakes, cookies, and more!
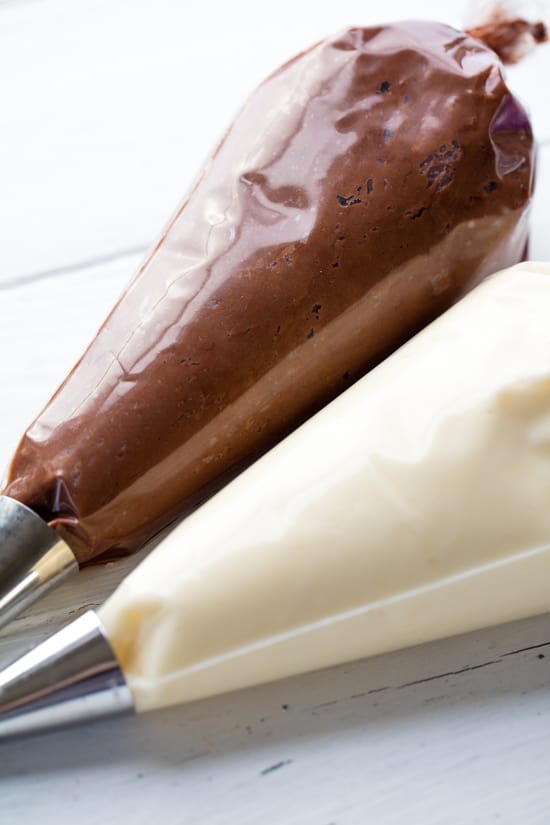
- Can make either vanilla or chocolate cream cheese frosting.
Cream Cheese Frosting Recipe Ingredients & Substitutions

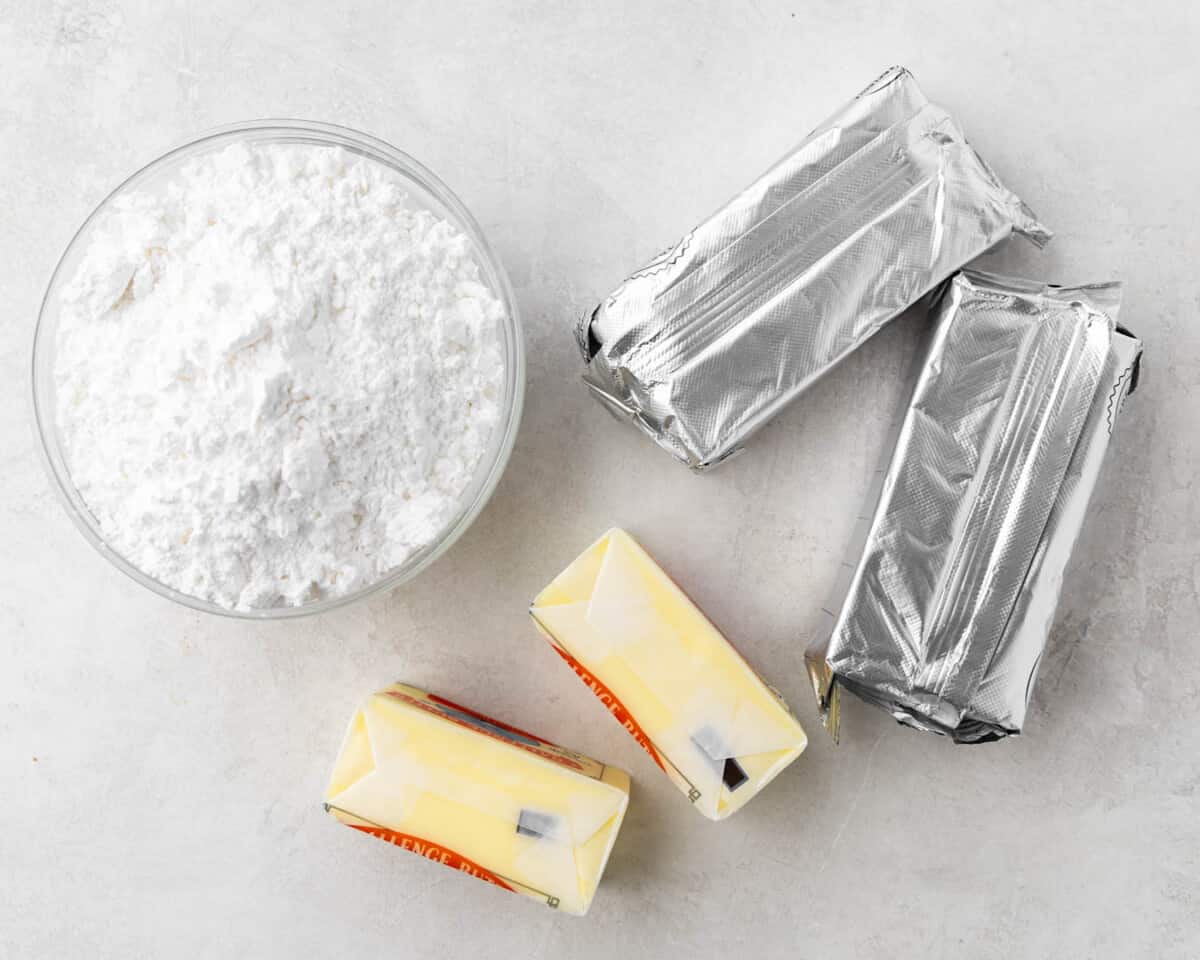
- Cream Cheese: The star of the show, it gives the frosting its rich, tangy flavor and creamy texture.
- Butter: Adds richness and helps to achieve a smooth consistency. Unsalted butter can be used if you prefer to control the saltiness.
- Vanilla Extract: Enhances the flavor. Pure vanilla extract is recommended for the best taste, but artificial vanilla can be used in a pinch.
- Powdered Sugar: Provides sweetness and structure. For a thicker frosting, simply add more powdered sugar.
While it’s tempting to experiment with low-fat or dairy-free alternatives in search of a healthier version of cream cheese frosting, it’s important to note that such substitutions can significantly alter the taste and texture of the final product. For the best results that truly capture the rich, creamy essence of this classic frosting, we recommend sticking to the original recipe. This ensures that your desserts will always have that perfect balance of flavor and texture that makes cream cheese frosting a beloved favorite.

How do I make thick cream cheese frosting?
Cream cheese frosting can vary in consistency based on the temperature. The easiest way to thicken up cream cheese frosting is to pop it in the refrigerator. As the fats from the cream cheese and butter cool, the frosting will change consistency and become much thicker. No extra powdered sugar required!
Alternatively, you can add up to 1/2 cup of cornstarch to the frosting mixture to thicken. This will not impact the flavor of the frosting.
Decorating With Cream Cheese Frosting
- Piping:
- Spreading:
- Use a knife for a smooth, classic finish on sheet cakes or round cakes.
- Achieve a homely, inviting look with ease.
- Layering:
- Perfect as a creamy filling between cake tiers.
- Adds a delicious contrast in textures and flavors.
- Dabbing on Cookies:
- A sweet and tangy addition to your favorite cookies.
- Elevates simple baked goods to festive treats.
- Swirling into Dessert Bars:
- Incorporate into the batter of dessert bars for a creamy surprise.
- Adds a rich, tangy flavor that complements the sweetness.
Coloring Cream Cheese Frosting
When coloring cream cheese frosting, the type of food coloring you choose can make all the difference:
- Gel Food Coloring: Highly concentrated and perfect for achieving deep, vibrant colors without altering the frosting’s consistency. A little goes a long way, and you can easily adjust the intensity of the color by adding more or less.
- Liquid Food Coloring: Readily available and easy to use, but it can thin out your frosting if you add too much. Best for achieving pastel colors.
- Powder Food Coloring: Ideal for getting intense colors without adding liquid. This type is great for decorating cookies or when you need a very specific shade.
- Natural Food Coloring: Made from fruits, vegetables, and spices, these are perfect for those seeking a more natural approach. Keep in mind that colors might be more muted compared to synthetic options.
Adding color to your cream cheese frosting opens up a world of decorative possibilities, from elegant floral designs to fun, themed party cakes. Remember to add the coloring a little at a time until you achieve your desired hue, and always mix thoroughly to ensure the color is evenly distributed.
Troubleshooting
- If the frosting is too thick, add a teaspoon of milk at a time until the desired consistency is reached.
- If the frosting is too runny, add more powdered sugar, 1/2 cup at a time, until it thickens.
Tips From the Chef
- Ensure all ingredients are at room temperature for a smoother texture.
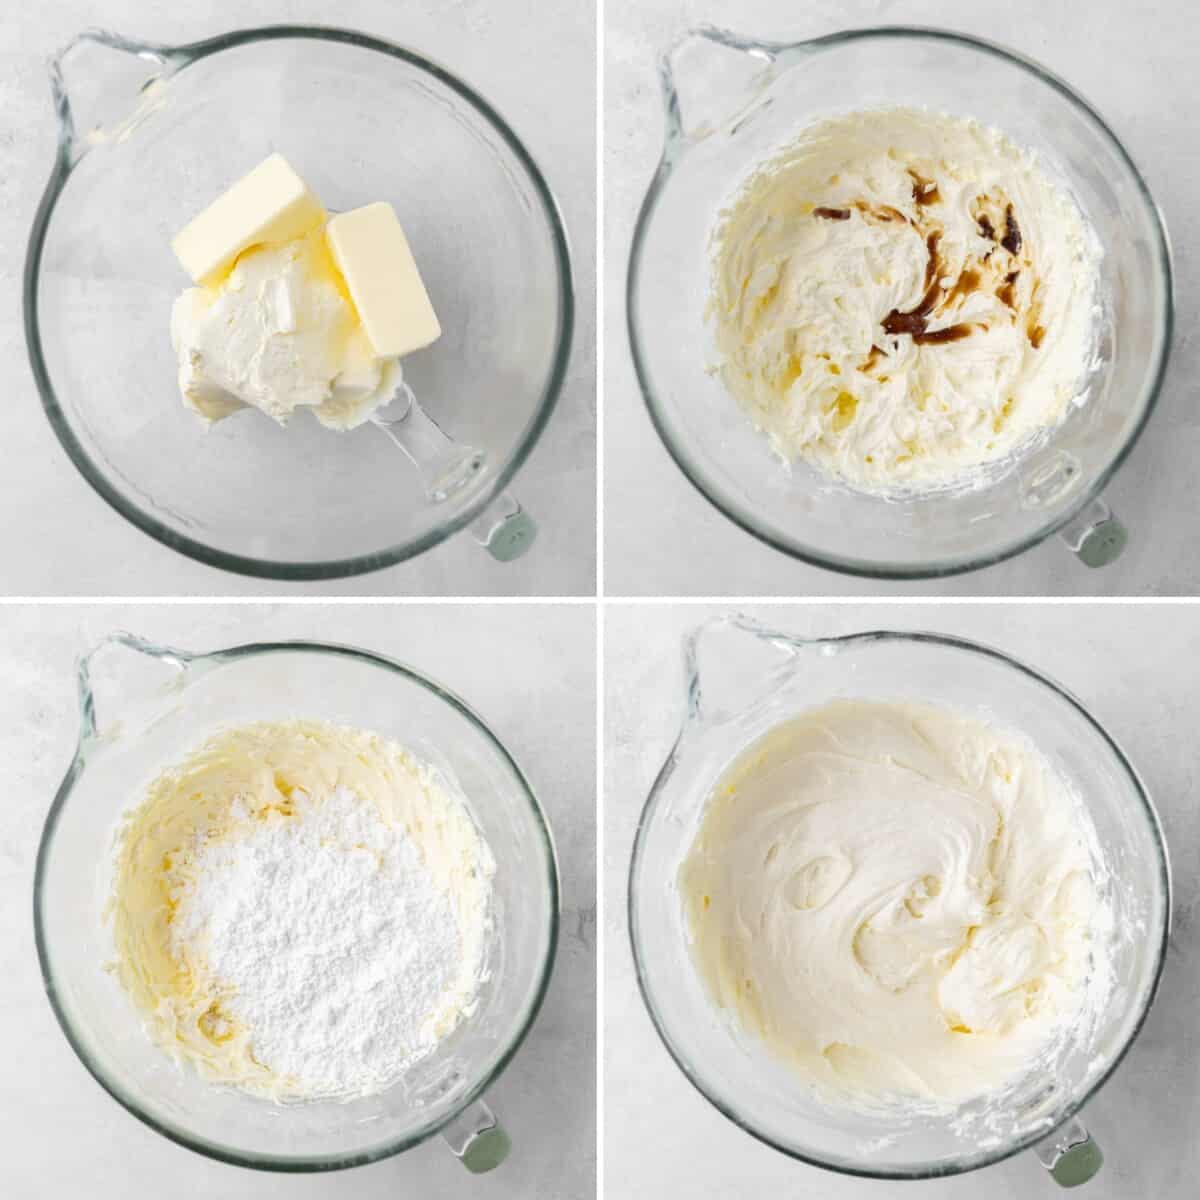
- Beat the cream cheese and butter thoroughly before adding the powdered sugar to avoid lumps.
- For a firmer frosting to pipe, add corn starch to the mixture or pop your finished frosting in the fridge.

When is cream cheese frosting ready?
The perfect cream cheese frosting should be smooth, creamy, and hold its shape well. If adding cocoa powder for a chocolate version, the color should be rich and uniform. When spreading or piping, it should be firm yet pliable, without any separation.
Make Ahead Instructions
You can make cream cheese frosting a couple of days ahead of time. Store it in the refrigerator. The frosting will thicken significantly in the fridge and may become too difficult to work with. To soften, let sit at room temperature for 1 hour.
Frosting Storage Instructions
Cream cheese frostings need to be refrigerated for food safety reasons, and lasts for up to 5 days in the fridge. A baked good frosted with cream cheese frosting should also be refrigerated. Cream cheese frosting can sit at room temperature for up to 2 hours safely.
More Frosting Recipes
Watch the video below where Rachel will walk you through every step of this recipe. Sometimes it helps to have a visual, and we’ve always got you covered with our cooking show. You can find the complete collection of recipes on YouTube, Facebook Watch, or our Facebook Page, or right here on our website with their corresponding recipes.
Affiliate Link Disclosure:
Some of the links on our site are affiliate links. What does that mean? Well, it means that if you find something you love and decide to buy it, I will earn a commission from that purchase, without any extra cost to you, of course!
So, if you decide to click on an affiliate link and make a purchase, just know you’re not just getting something great for yourself, you’re also supporting The Stay At Home Chef in the process. And for that, I’m super grateful. Thank you for being part of this delicious journey with me!
Trending Products

GE Electronic Window Air Conditioner 6000 BTU, Efficient Cooling for Smaller Areas Like Bedrooms and Guest Rooms, 6K BTU Window AC Unit with Easy Install Kit, White

Alen BreatheSmart Classic H13 HEPA Air Purifier, Air Purifiers For Home Large Room w/ 1100 SqFt Coverage, Medical-Grade Air Cleaner for Pet Dander & Odor, up to 12 Mos. Filter Life, Espresso

Luminance Midway Eco LED Ceiling Fan with Light and Remote | Dimmable 54 Inch Fixture with DC Motor | Contemporary 5 Blade Design with Downrod Mount for Hanging, Appliance White

Nostalgia RF6RRAQ Retro 6-Can Personal Cooling and Heating Mini Refrigerator with Carry Handle for Home Office, Car, Boat or Dorm Room-Includes AC/DC Power Cords,,1 cubic feet, Aqua


